


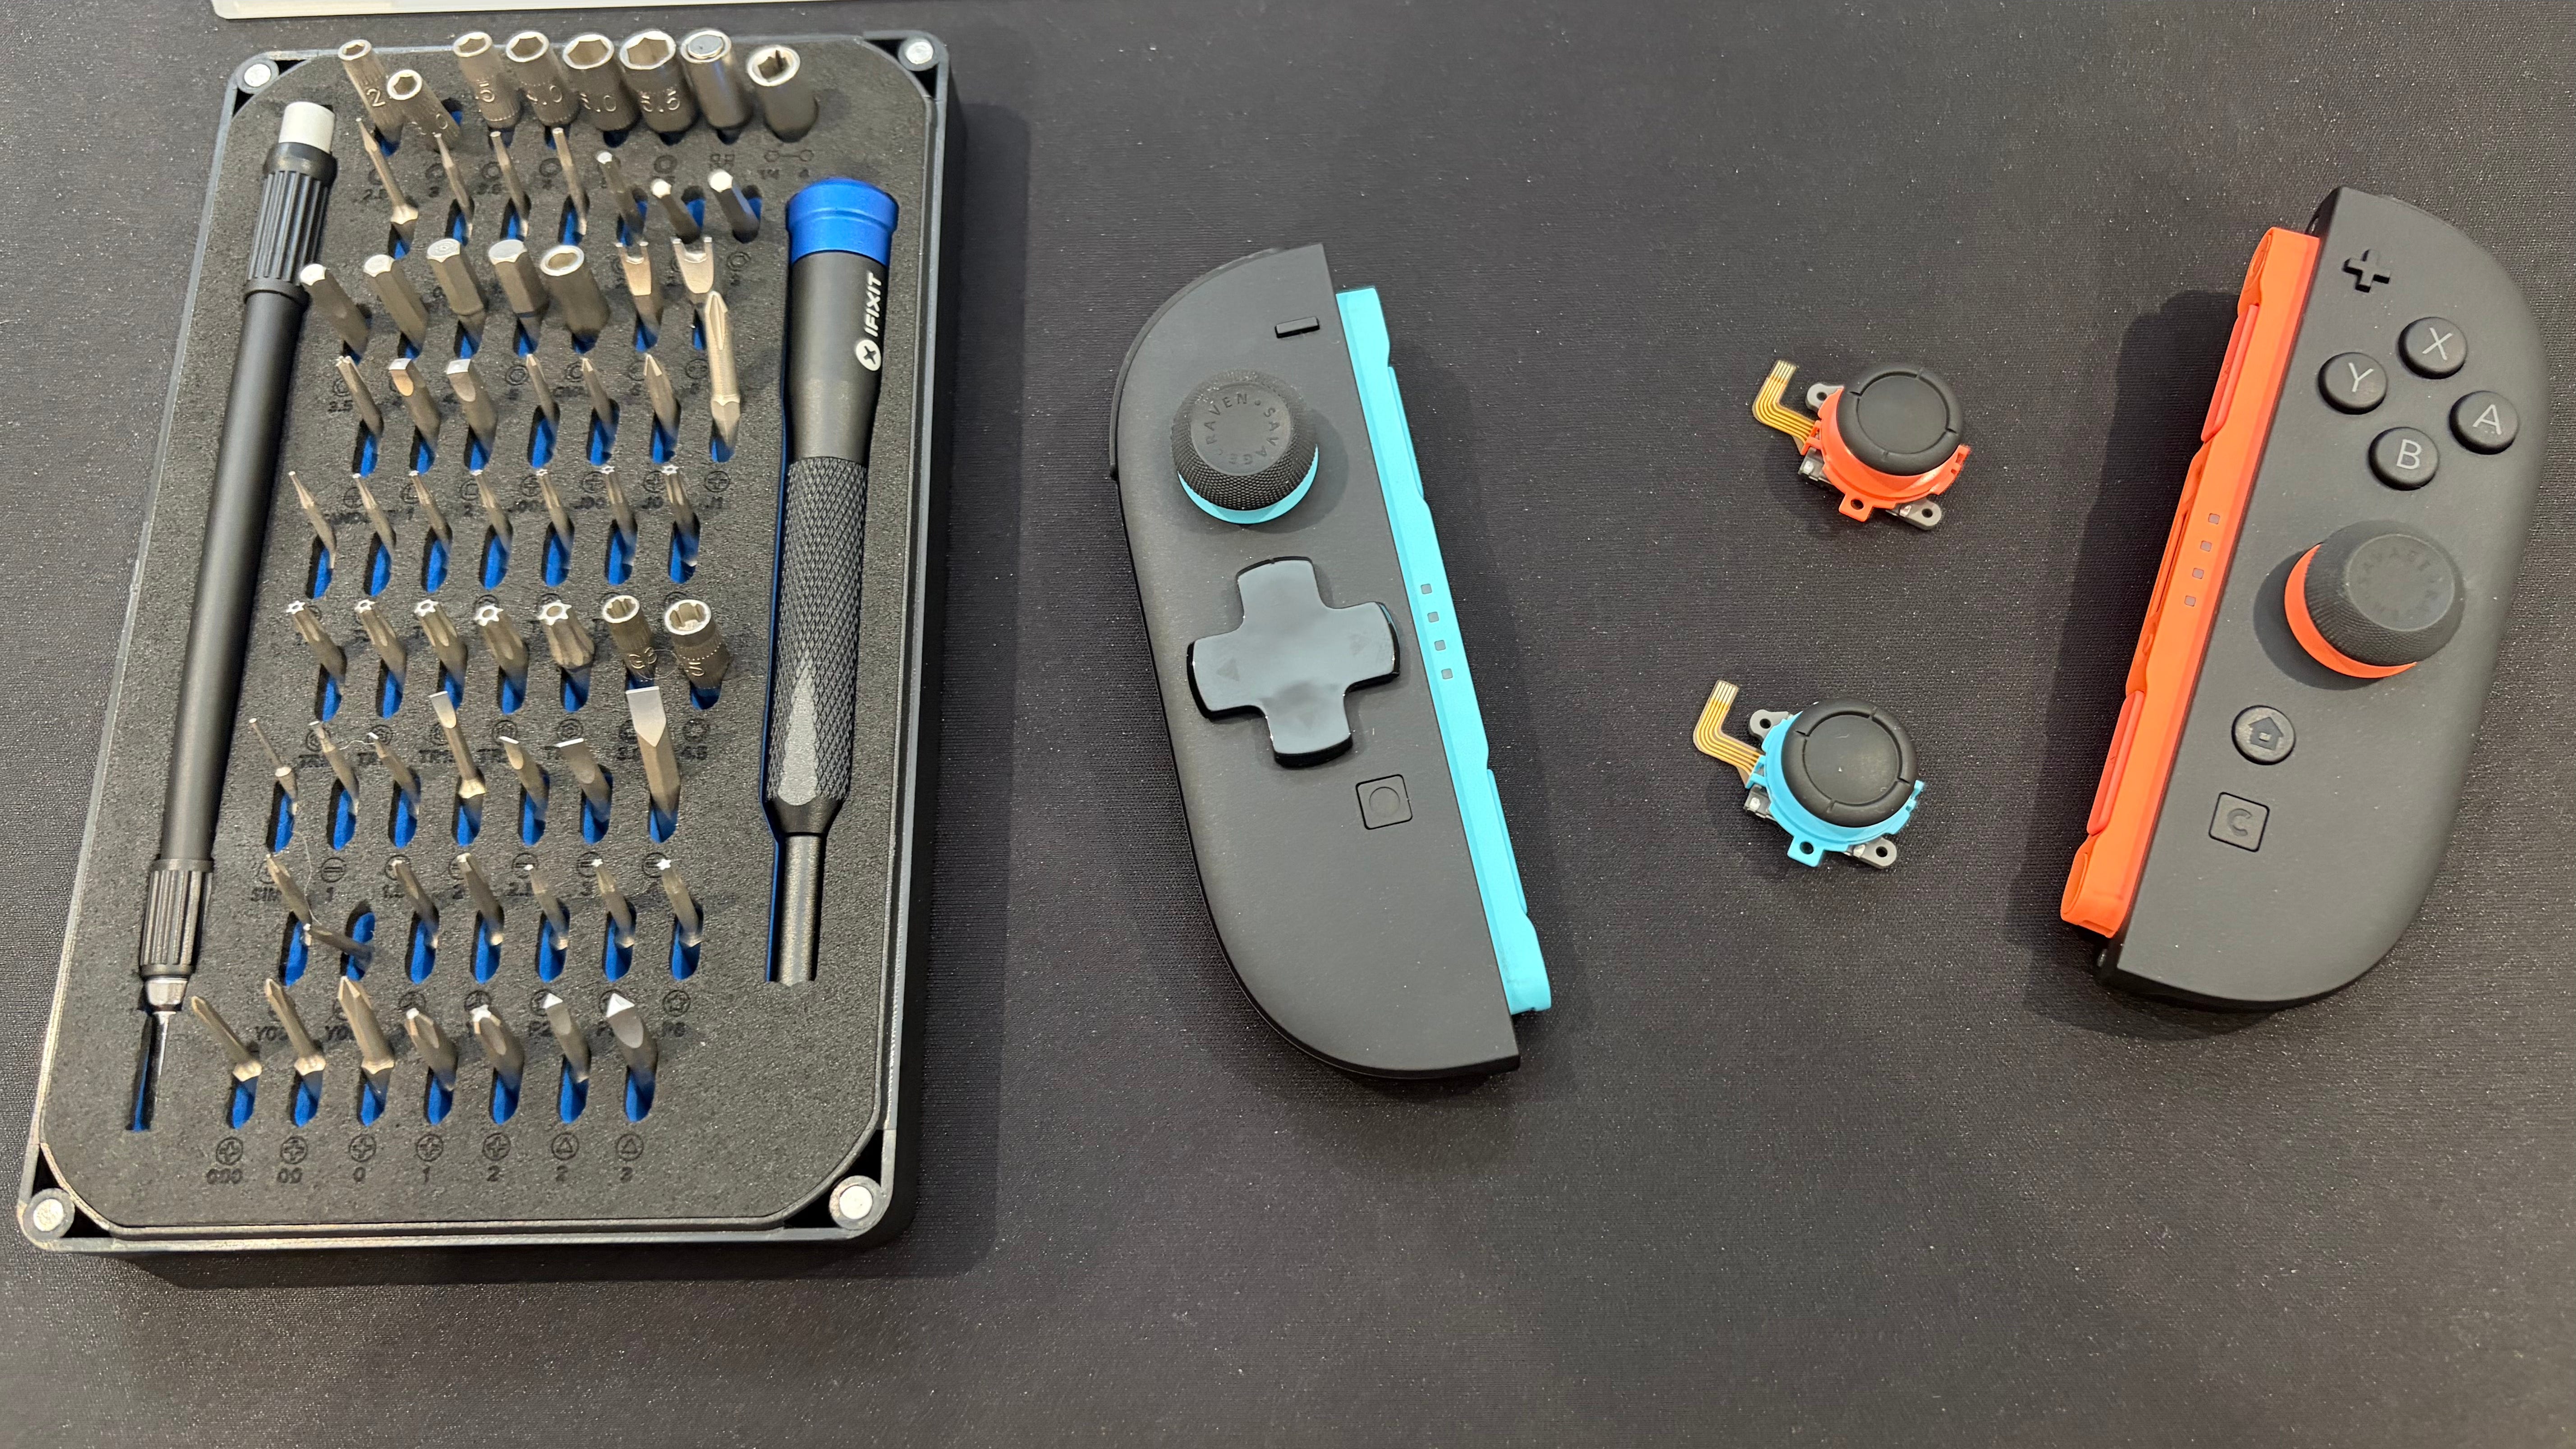

👏 GuliKit’s TMR analog sticks offer a durable, precise, and power-efficient alternative to the standard potentiometer sensors found in Joy-Con 2 controllers
👍 Upgrading to TMR sticks helps prevent stick drift and provides better overall performance for just $16
🪛 Successful installation requires using the correct tools, such as Tri-wing and Phillips #00 screwdrivers, and keeping track of internal screws
⚠️ Patience and caution are crucial during the process to avoid damaging delicate internal components like HD Rumble cables
The Nintendo Switch 2 is a fantastic upgrade over the original, offering significantly better performance, higher frame rates, resolutions, and some nifty new features like mouse mode.
But one disappointing aspect that was rightly highlighted as a concern before the Switch 2’s launch is that the Joy-Con 2 controllers still use regular potentiometer stick sensors. As many of us found out to our peril with the original Switch, potentiometer sensors aren’t very durable, and stick drift became a common problem.
Thankfully, third-party controller manufacturers such as GuliKit have adopted Tunnel Magnetoresistance sticks (TMR), which are more precise, efficient, and – crucially – far more durable.
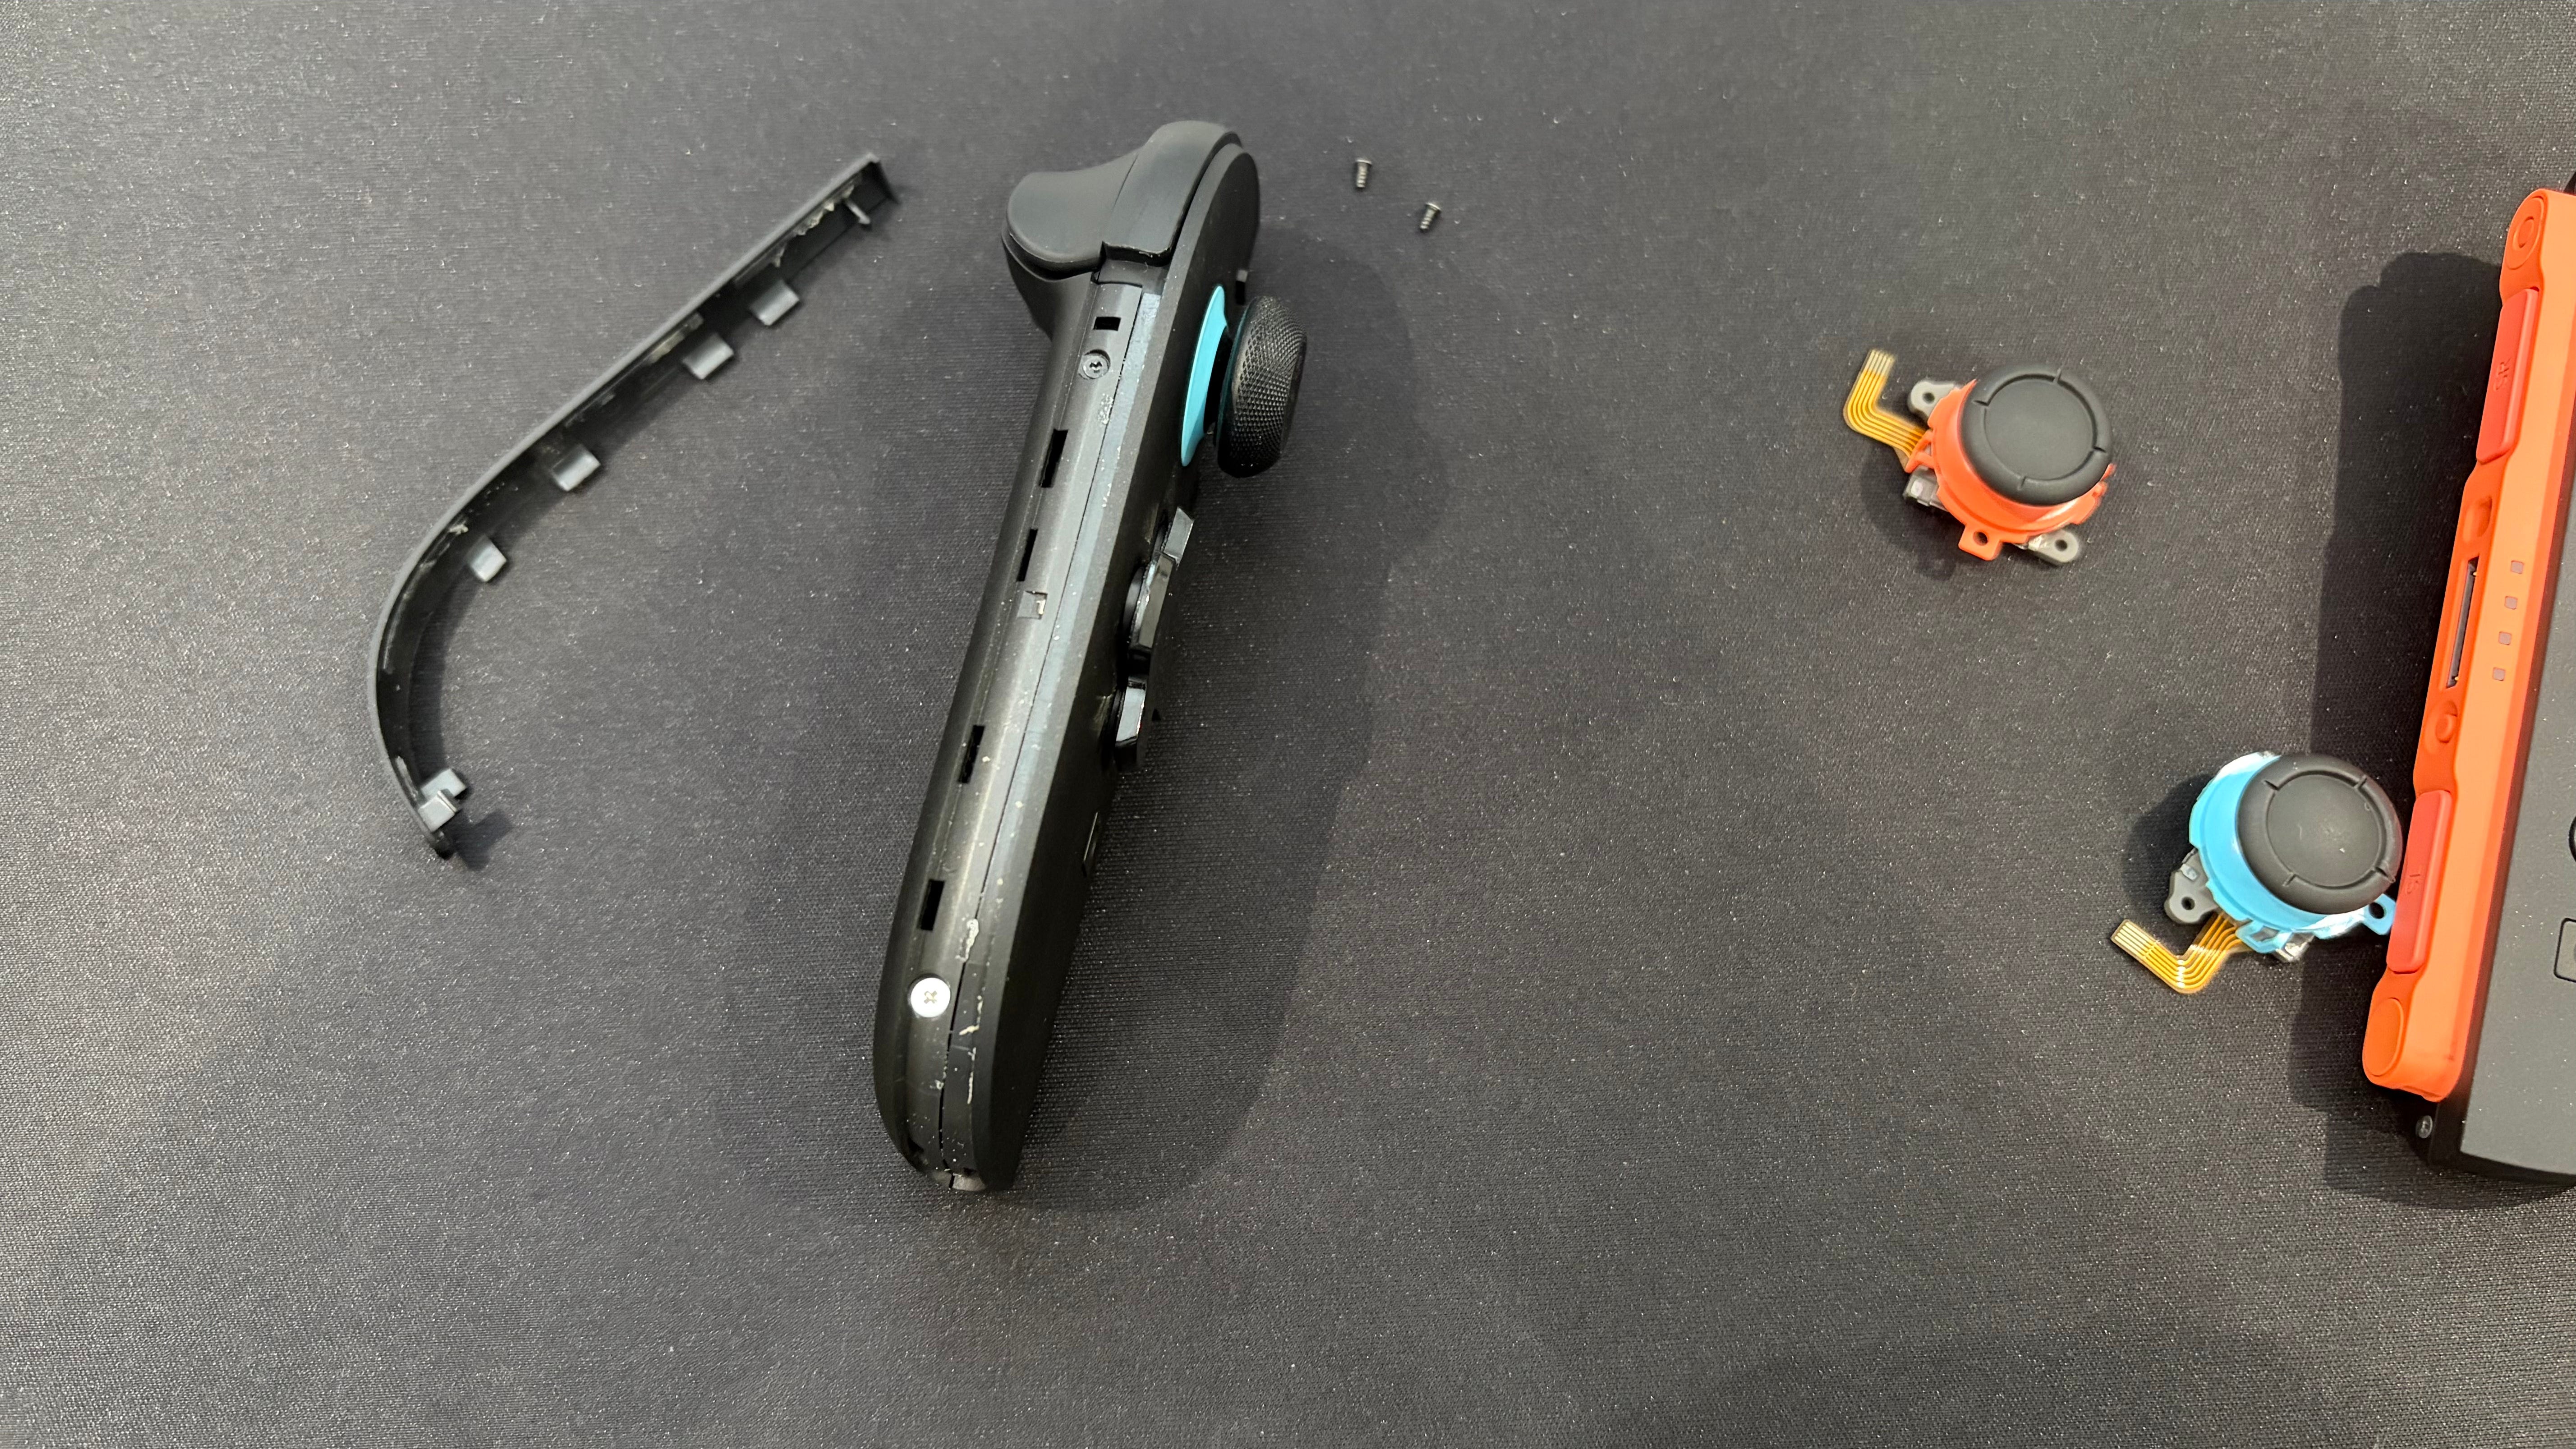
For just $20, you can replace your stock Joy-Con 2 controllers’ analog stick with GuliKit’s TMR joysticks for peace of mind and better performance – and that’s exactly what I spent a few hours doing.
Slow and steady wins the race
While the process appears relatively simple – GuliKit even shared a video of the process on X – please learn from my mistakes. Opening up any electronic device poses a risk that you may break it, and obviously your warranty goes out the window, so bear that in mind from the outset.

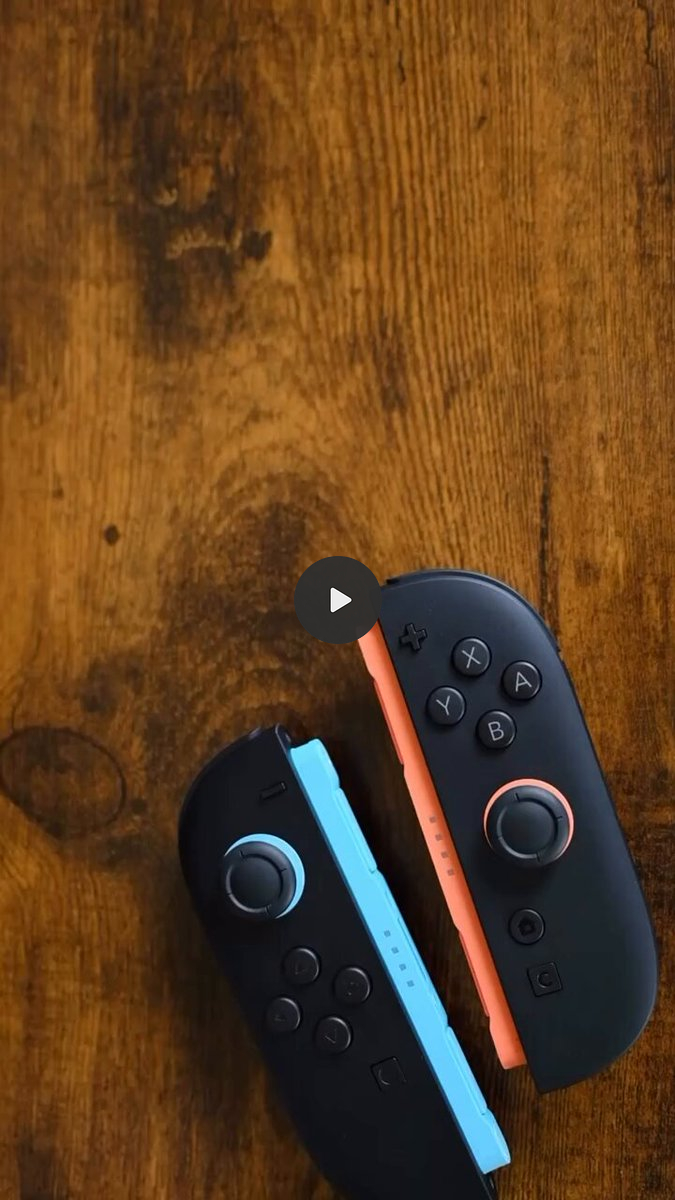
First, make sure you have the right equipment. You’ll need a Tri-wing (Y00 or Y0) screwdriver for three outer screws on the Joy-Con 2 shell and a Phillips #00 head for the internal screws once the shell is removed. I’d also recommend having some tweezers to hand in case a ribbon cable comes loose.
The inside of the Joy-Con 2 isn’t as robust as you’d think, and it’s easy for things to snap or come apart if you’re not careful.
My first tip is to take photos after each assembly stage and keep the screws that you remove together – otherwise you can lose track of which screw went where. You’ll be dealing with 16 screws overall, so it’s easily done.
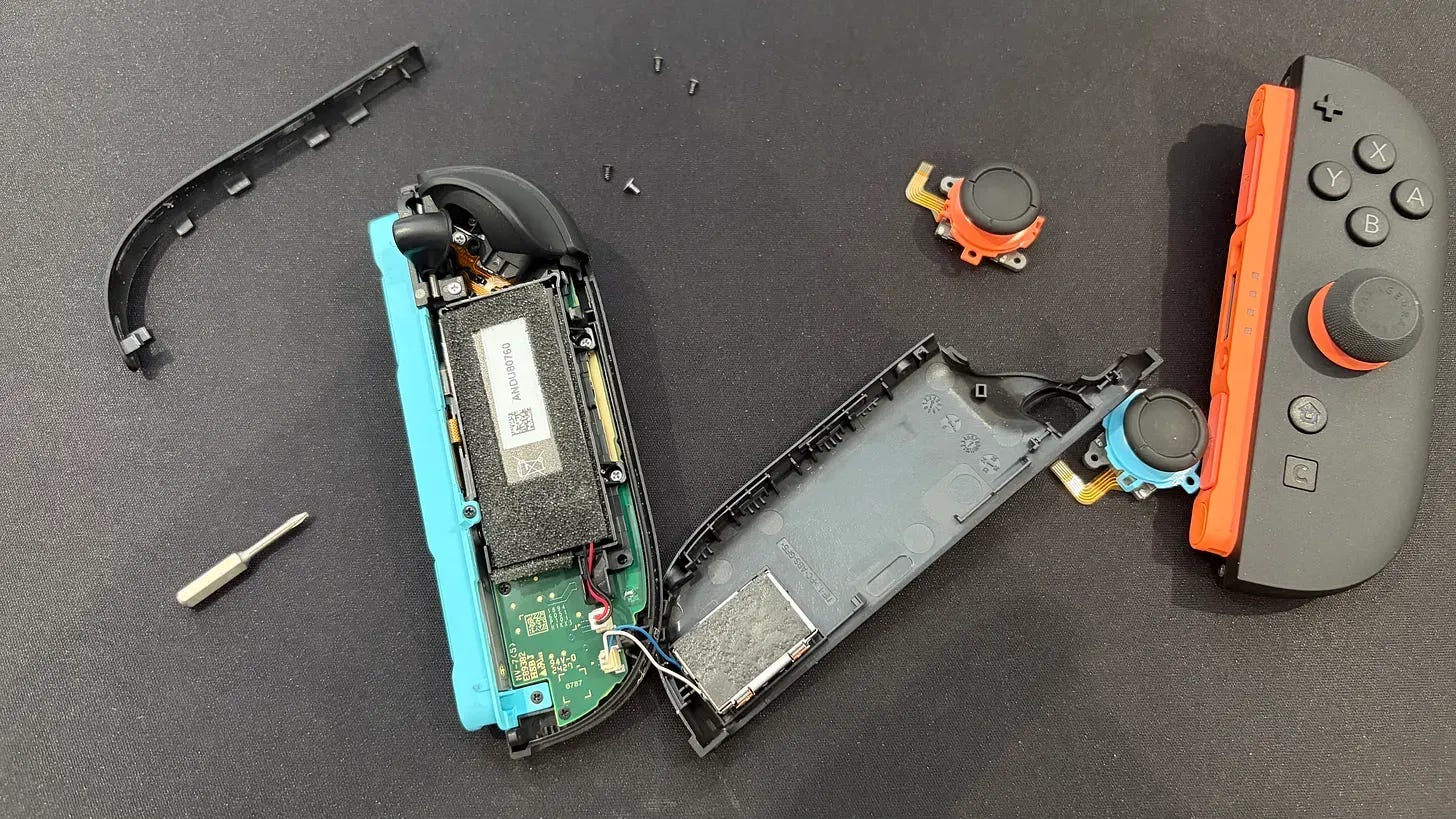
Having photos you can check really helps if you get stumped.
Another piece of advice is to take your time. Rushing leads to mistakes, and there were several times when I had to take the Joy-Con 2 apart all over again because I’d forgotten a screw or hadn’t checked to see if something was functioning properly before rebuilding.
Finally, be extremely gentle as you go. I’m ashamed to say that I broke my left Joy-Con 2 thanks to my heavy-handedness. The soldered cables that connect the HD Rumble to the battery detached, and let’s just say my attempts to put them back on didn’t go well. At all. The inside of the Joy-Con 2 isn’t as robust as you’d think, and it’s easy for things to snap or come apart if you’re not careful.
Is it worth it?
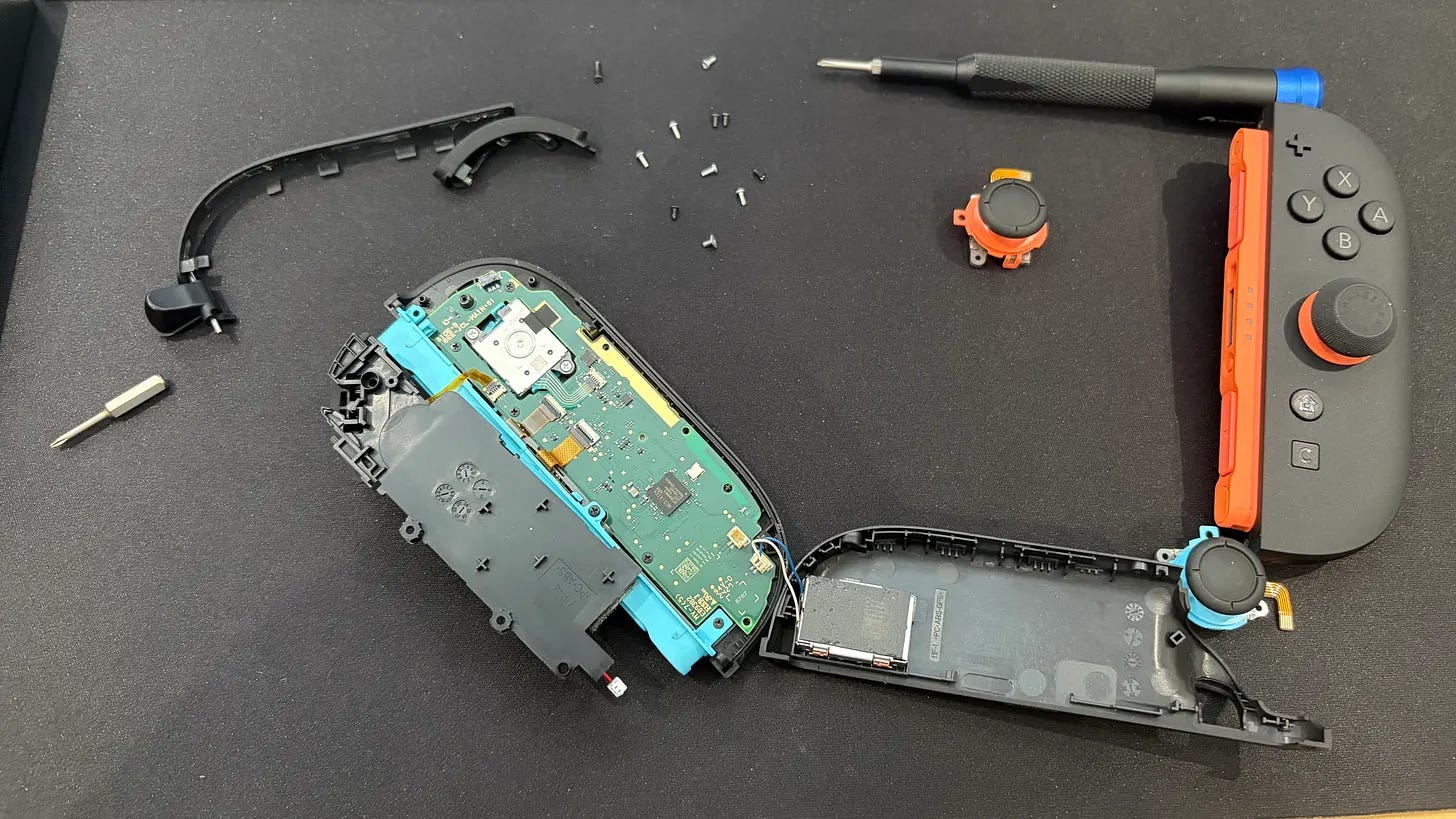
If you’re feeling unsure about whether this upgrade is for you, I don’t blame you. I’ve built my own PC, so thought the process would be a little easier than first advertised. However, it is genuinely doable, and I can’t deny there’s always a nice sense of satisfaction whenever you learn to fix an electronic device yourself.
For $20, the GuliKit TMR joystick upgrade is definitely worth it – despite my mishap. Knowing that my Joy-Con 2 controllers are now free of any perceptible stick drift gives me peace of mind for the future. Additional benefits such as having a lower power draw and more precise inputs just sweeten the deal.
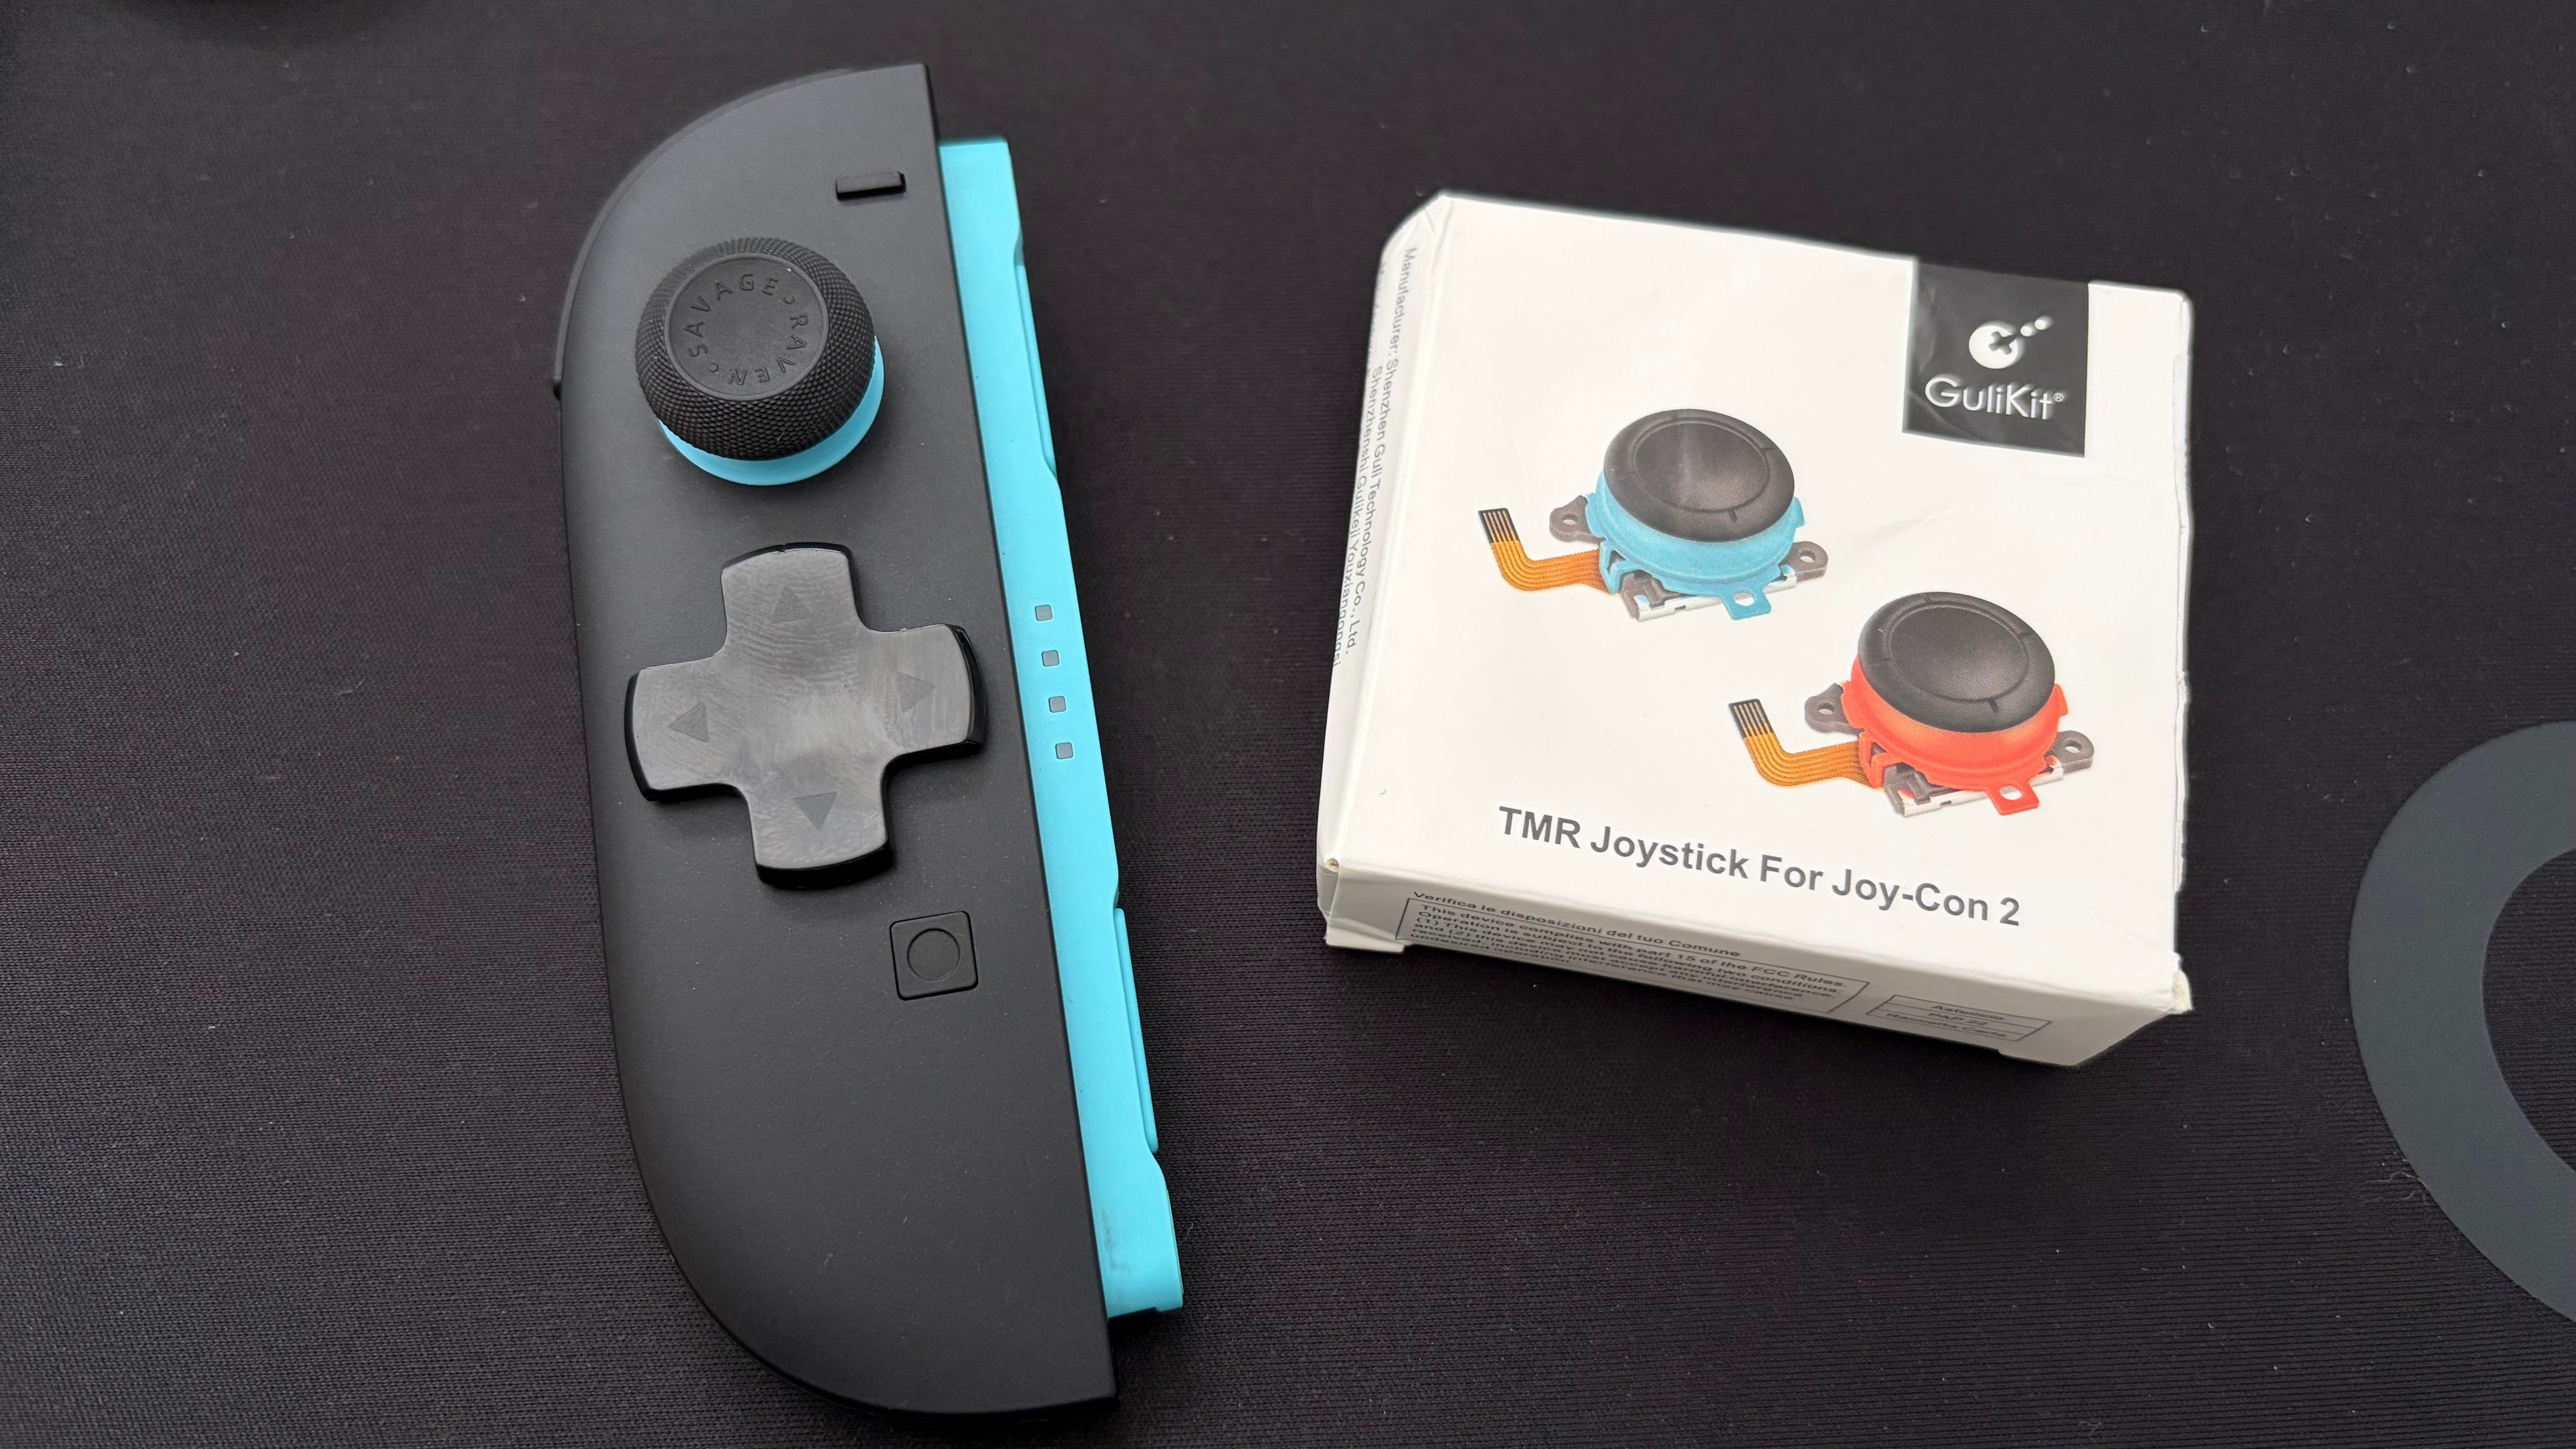
A final note: you may need to head into your Nintendo Switch 2 settings to calibrate the analog sticks, but I found they were working perfectly once installed. They also feel the same in use, so don’t worry about having to get used to a new style of analog stick.
Up next: Nintendo Switch 2 price increase takes place soon – here’s why you should buy one now
Adam Vjestica is The Shortcut’s Senior Editor. Formerly TechRadar’s Gaming Hardware Editor, Adam has also worked at Nintendo of Europe as a Content Marketing Editor, where he helped launch the Nintendo Switch. He also runs a retro gaming YouTube channel called Game on, boy! Follow him on X @ItsMrProducts.