

Steal my fireworks photo playbook before tonight
Your checklist: the settings, gear, and edits to shoot fireworks that actually look good – pull it up on your phone while you wait, whether you're on an iPhone or a full-frame camera


👉 My top mobile tripod rec: Get the KraftGeek JustTap tripod from Amazon (affiliate link)


Happy 4th, everyone! Reading this on your phone while you wait for the fireworks show? You’re right on time. Here’s my playbook in six lines – screenshot it, and you’re set

📱 Just a phone? Drag your exposure down, lock focus, and let Live Photos do the work. You’re closer to a great shot than you think
📷 Shooting a real camera? Go manual: 2–8 second shutter, f/8–f/13, ISO 100, manual focus set once and left alone
🎥 Video first? Skip timelapses – it’s over in a blink. Shoot 4K/60 for optional slow-mo
🔋 Two things you can’t skip: a spare battery and a tripod (for photos)
🔴 The edit that changes everything: in Adobe Lightroom Mobile or Desktop, pull highlights down, lift shadows, add Dehaze to kill the smoke, then crank Vibrance
⚠️ Don’t try to livestream it. Everyone’s on the same cell tower, and it’ll choke. Upload later – that’s your editing time anyway
My fireworks tips – all in one Substack email

Every year on the 4th – usually mid-fireworks – I get asked how to take fireworks photos that actually look good, the kind where you can see the colors and the shape instead of a bright, blown-out smear. So, finally, for America’s 250th, I put everything I tell people in one place ahead of time. If you’re reading this with the show about to start, you’re right on time.
Here’s the good part: it’s honestly not hard. You don’t need a pro camera or years of practice, just a few settings that make all the difference – and I’ll walk you through every one.
I’ve broken it down by what you’re holding: your phone, a mirrorless, or a full-frame camera. Find your section, steal the settings, and you’ll come away with shots you’re proud to post. Let’s get into it. 👇
🟢 If You’re Shooting on a Phone (start here)
This is where most people are, and I promise you’re one setting away from a real upgrade. Modern iPhones and Android flagships are shockingly good at fireworks – you just have to stop letting them auto-everything.
The one move that changes everything
Fireworks fool your phone into thinking it’s dark, so it over-brightens and turns the burst into a white blob. Take back control:
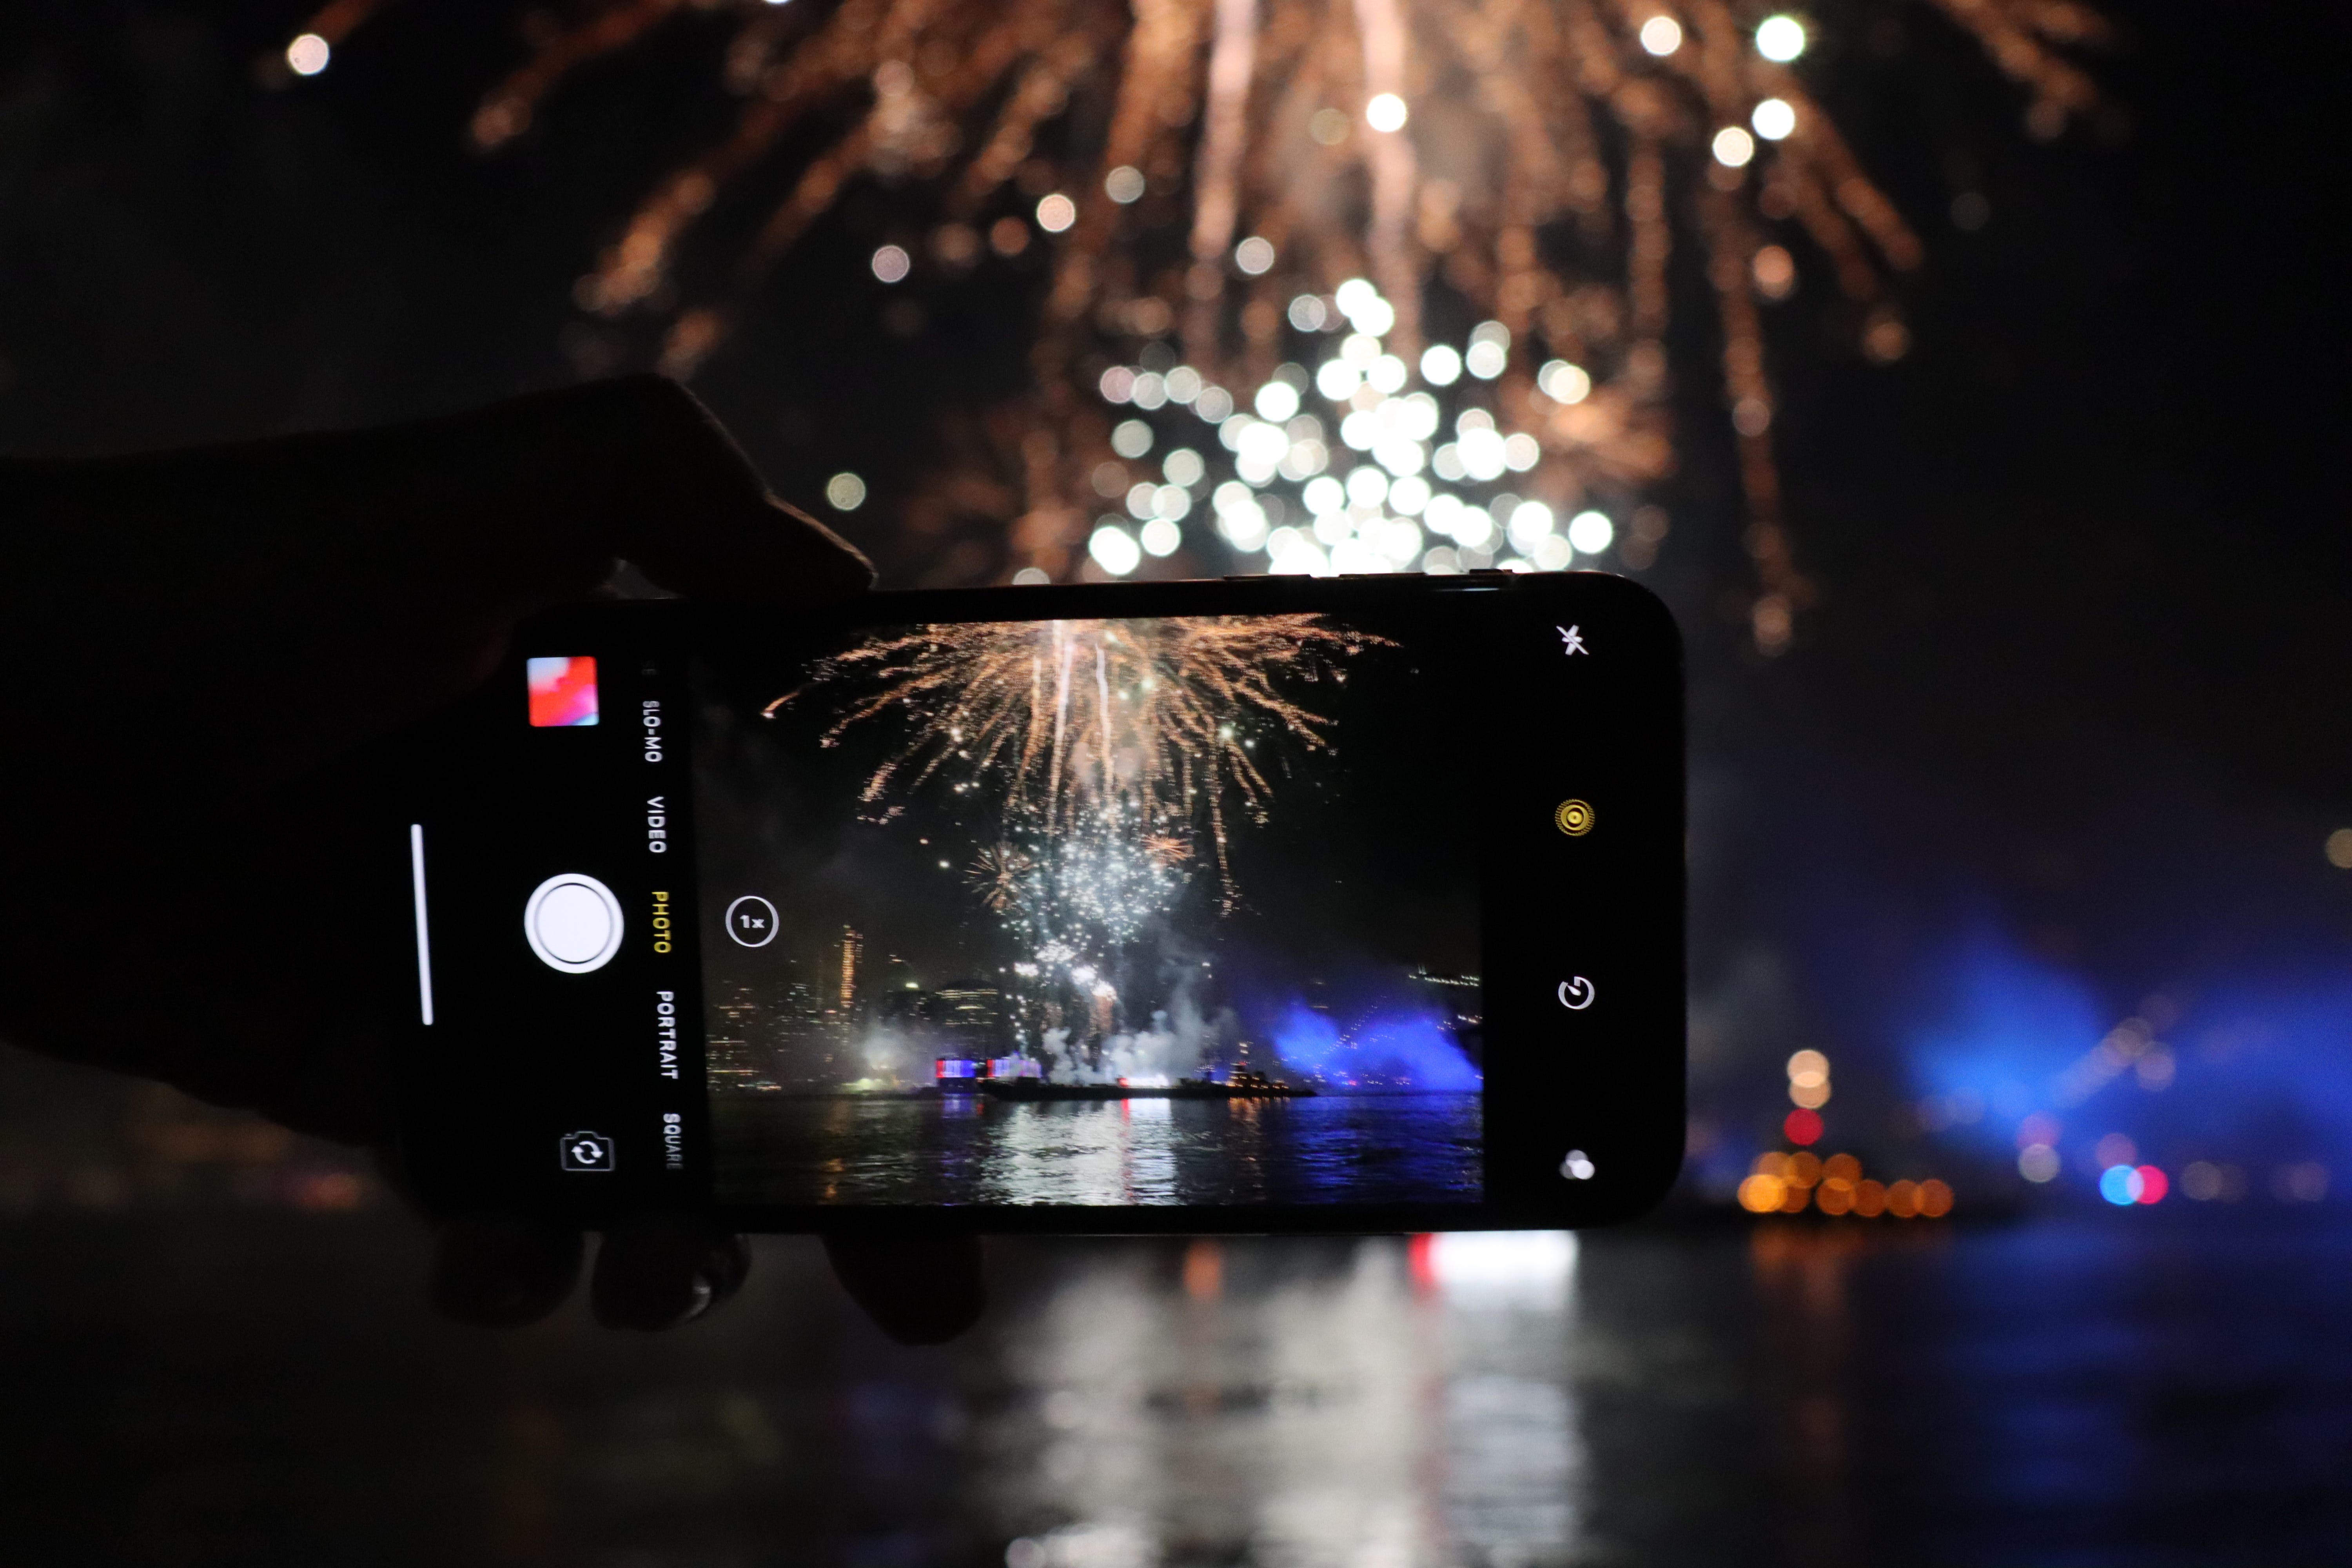
iPhone: Tap a burst on your screen, then slide that little sun icon down a notch or two to pull the brightness back. The background goes darker and the color in the burst suddenly pops.
Press and hold to lock AE/AF so your phone quits refocusing every time the sky lights up.
Android (Pixel/Samsung): Same brightness pull-down, or hop into Pro/Manual mode, drop ISO to 50–100, and slow the shutter down.
My favorite free trick

Turn on Live Photos, take the shot, then open it and tap the “Live” menu in the top-left and choose Long Exposure. Your iPhone stacks the frames into silky light trails – it’s the closest thing to a DSLR long exposure with zero effort. This one alone will make people think you upgraded your camera.
A couple more quick wins: if Night mode kicks in, keep it short (1–3 seconds) and hold dead still. And whatever you do, don’t pinch to zoom – digital zoom turns fireworks to mush. Get closer or crop later.
Ready to level up? Grab an app with real manual shutter control your stock camera hides – Halide, Slow Shutter Cam, or ProCamera on iOS; Camera FV-5 or ProShot on Android.
🎥 Shooting phone video
Shoot 4K at 24 or 30 fps, tap to lock AE/AF, and keep the phone dead steady on a railing or a mini tripod. Frame it once and let it run – no zooming mid-clip.
🟡 If You Have a Mirrorless or DSLR
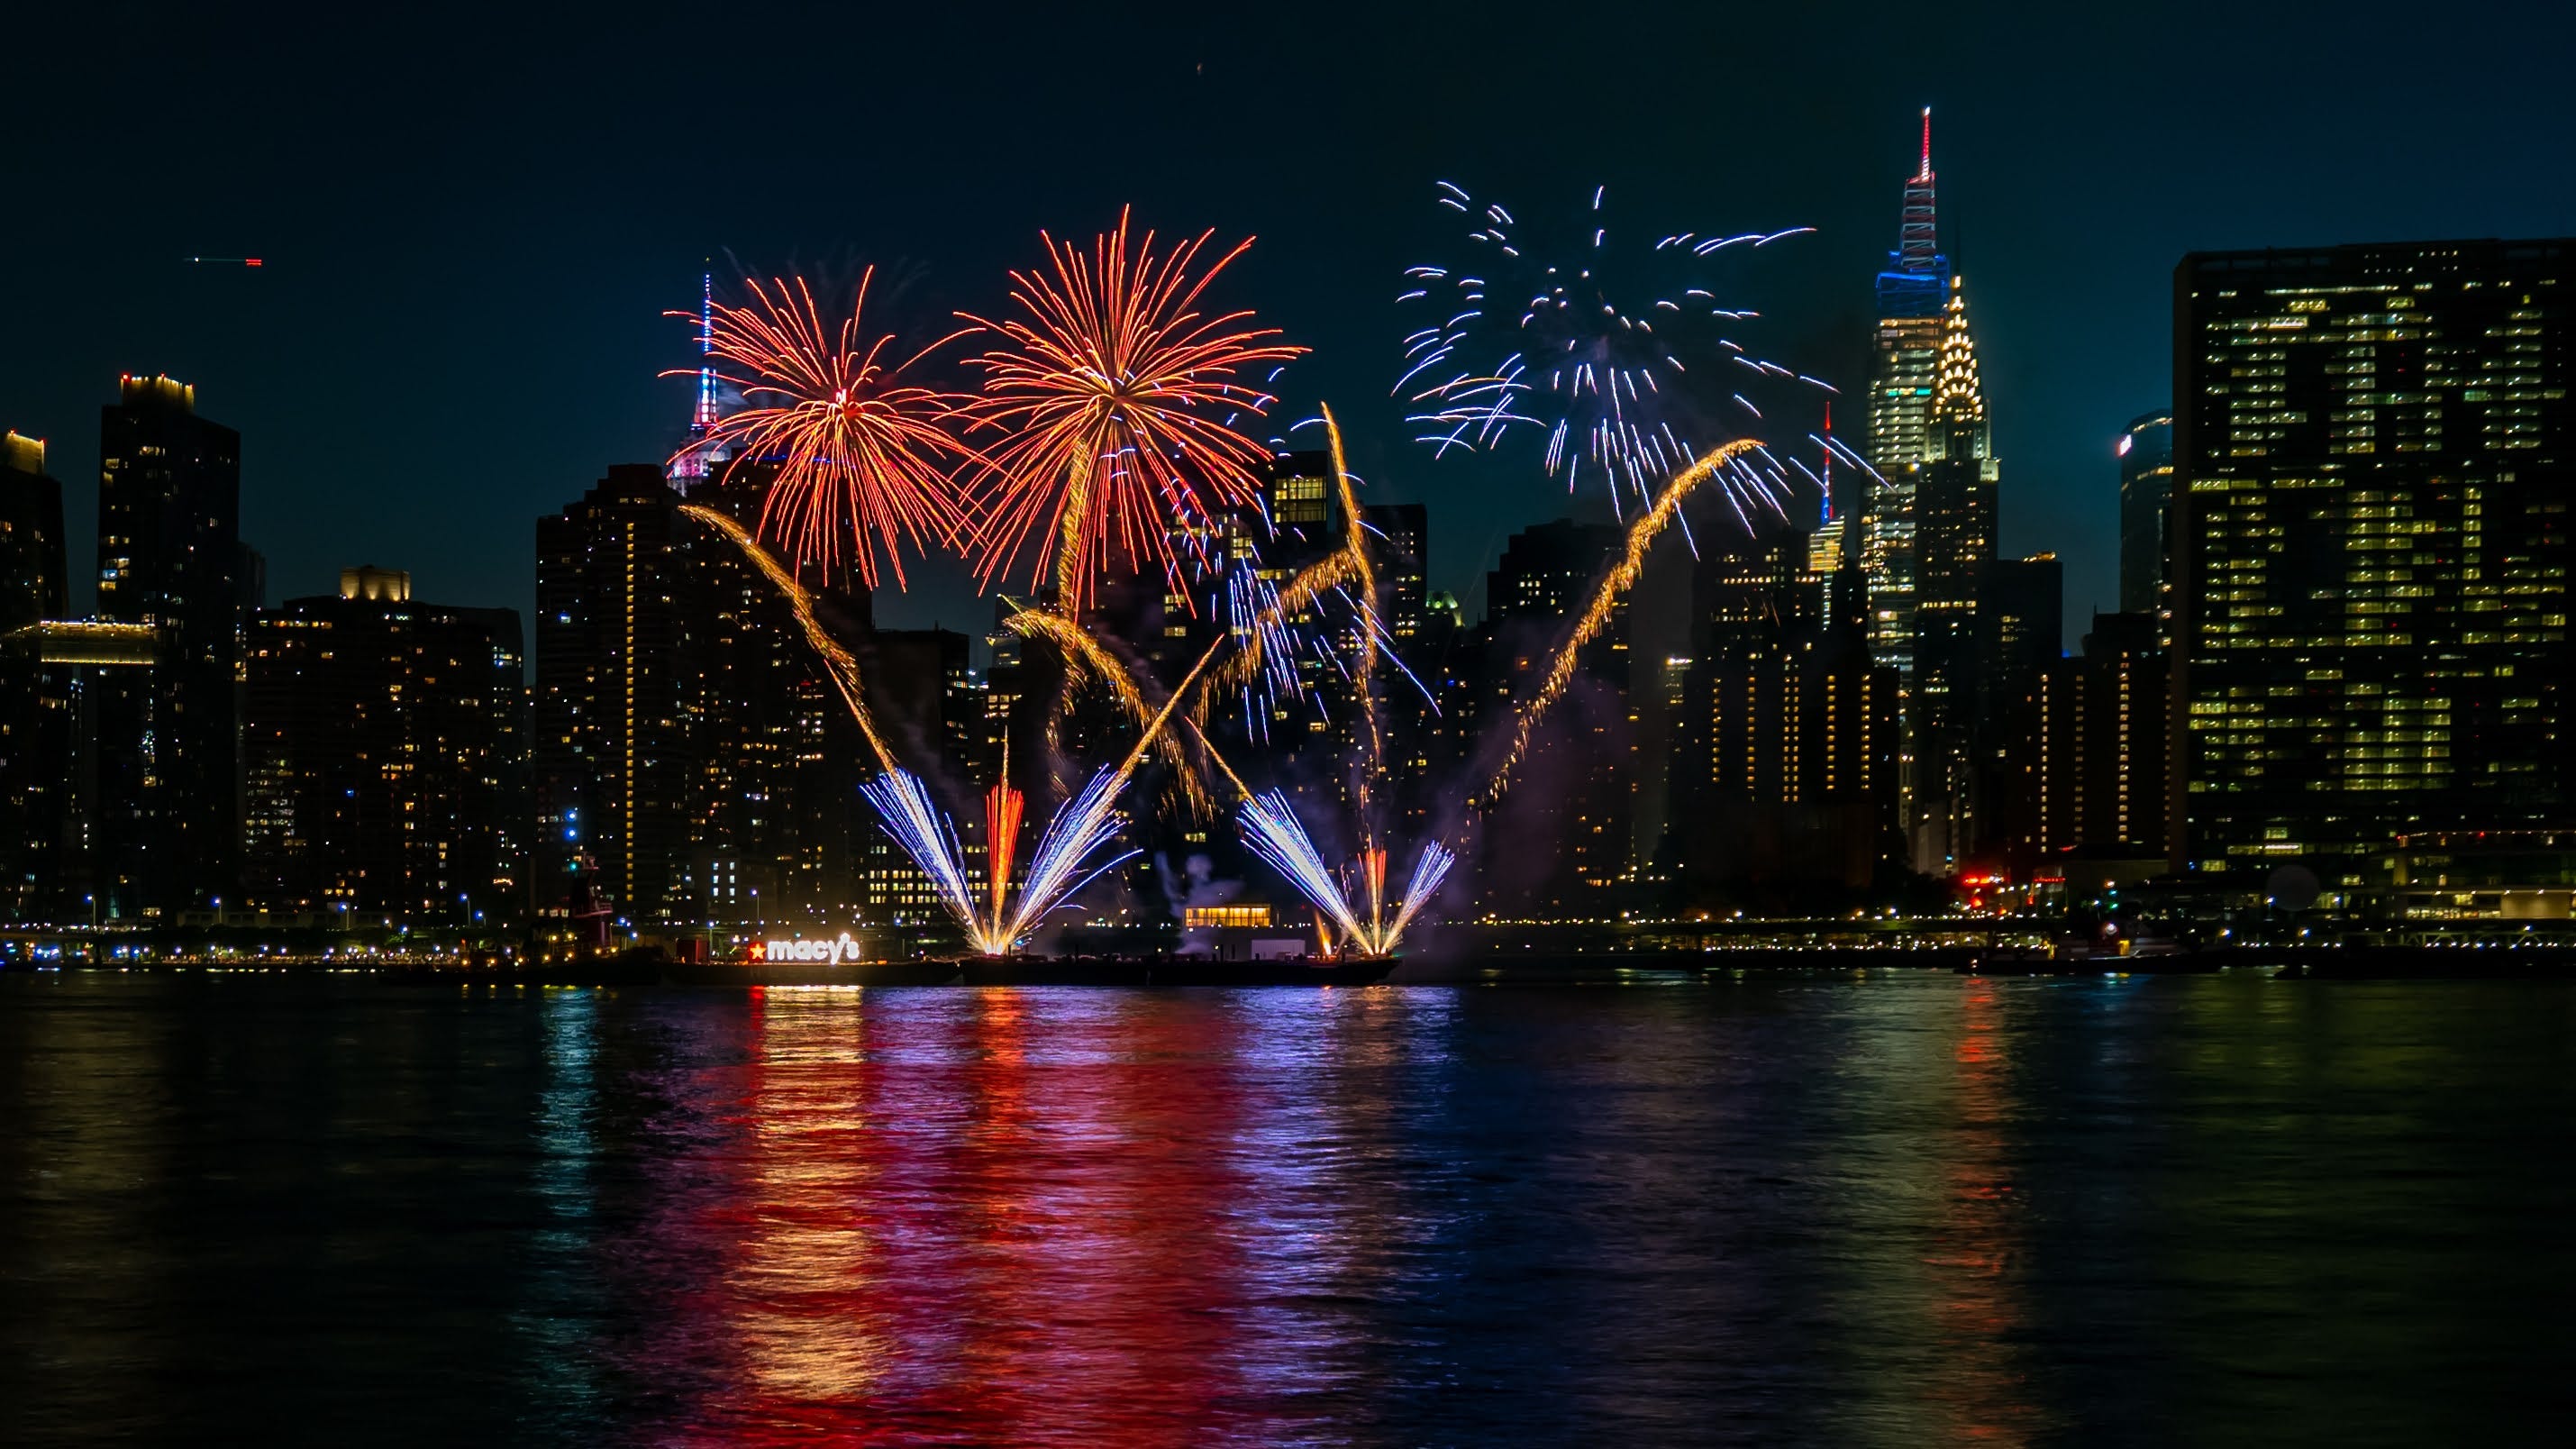
Got an interchangeable-lens camera? This is where your shots start looking like the cover of this newsletter. You’re going fully manual, but only four dials actually matter. Here’s exactly where I set mine:
Mode: Manual (M), or Shutter Priority (Tv on Canon, S on Nikon/Sony) if you’re easing in
Shutter: 2–8 seconds. I start at 4. Shorter gives you one clean burst; longer stacks a few together in one frame.
Aperture: f/8 to f/13. Fireworks are bright, so you don’t need a fancy fast lens.
ISO: 100–200. Keep it low. High ISO just adds noise you’ll fight later.
Focus: Switch to manual focus, set it to infinity or lock onto the distant skyline lights, then don’t touch it again. Autofocus will hunt in the dark and cost you the shot.
White balance: Set it to Daylight (~5000K) so your colors stay consistent frame to frame.
Shoot RAW. Trust me, you’ll want the extra room when we get to editing.
The shake-killer: a 4-second exposure means the tiniest bump ruins the frame. Use a 2-second self-timer or a remote/cable release so you’re never touching the camera while the shutter’s open.
🎥 Camera video settings
Shoot 4K with your shutter around 1/50 (24fps) or 1/60 (30fps) to keep motion natural. Keep ISO low (100–800), lock manual focus and white balance, and sit around f/4–f/8.
🔴 For the Pros (the black-card trick)
You know your histogram, you shoot RAW in your sleep, and you want the composited, frame-it-on-the-wall shot. Here’s how you stack a whole finale into a single exposure:
Bulb mode with an intervalometer or remote so you control exactly when the shutter opens and closes.
f/11–f/16, ISO 100, RAW.
The black-card technique: open the shutter in Bulb, then hold a piece of black card (a lens cap, even your hat) in front of the lens between bursts. Pull it away when a shell explodes, cover it back up, repeat. You’re painting multiple bursts into one clean frame while the dark sky stays black. This is the single biggest “how did they do that” trick in fireworks photography.
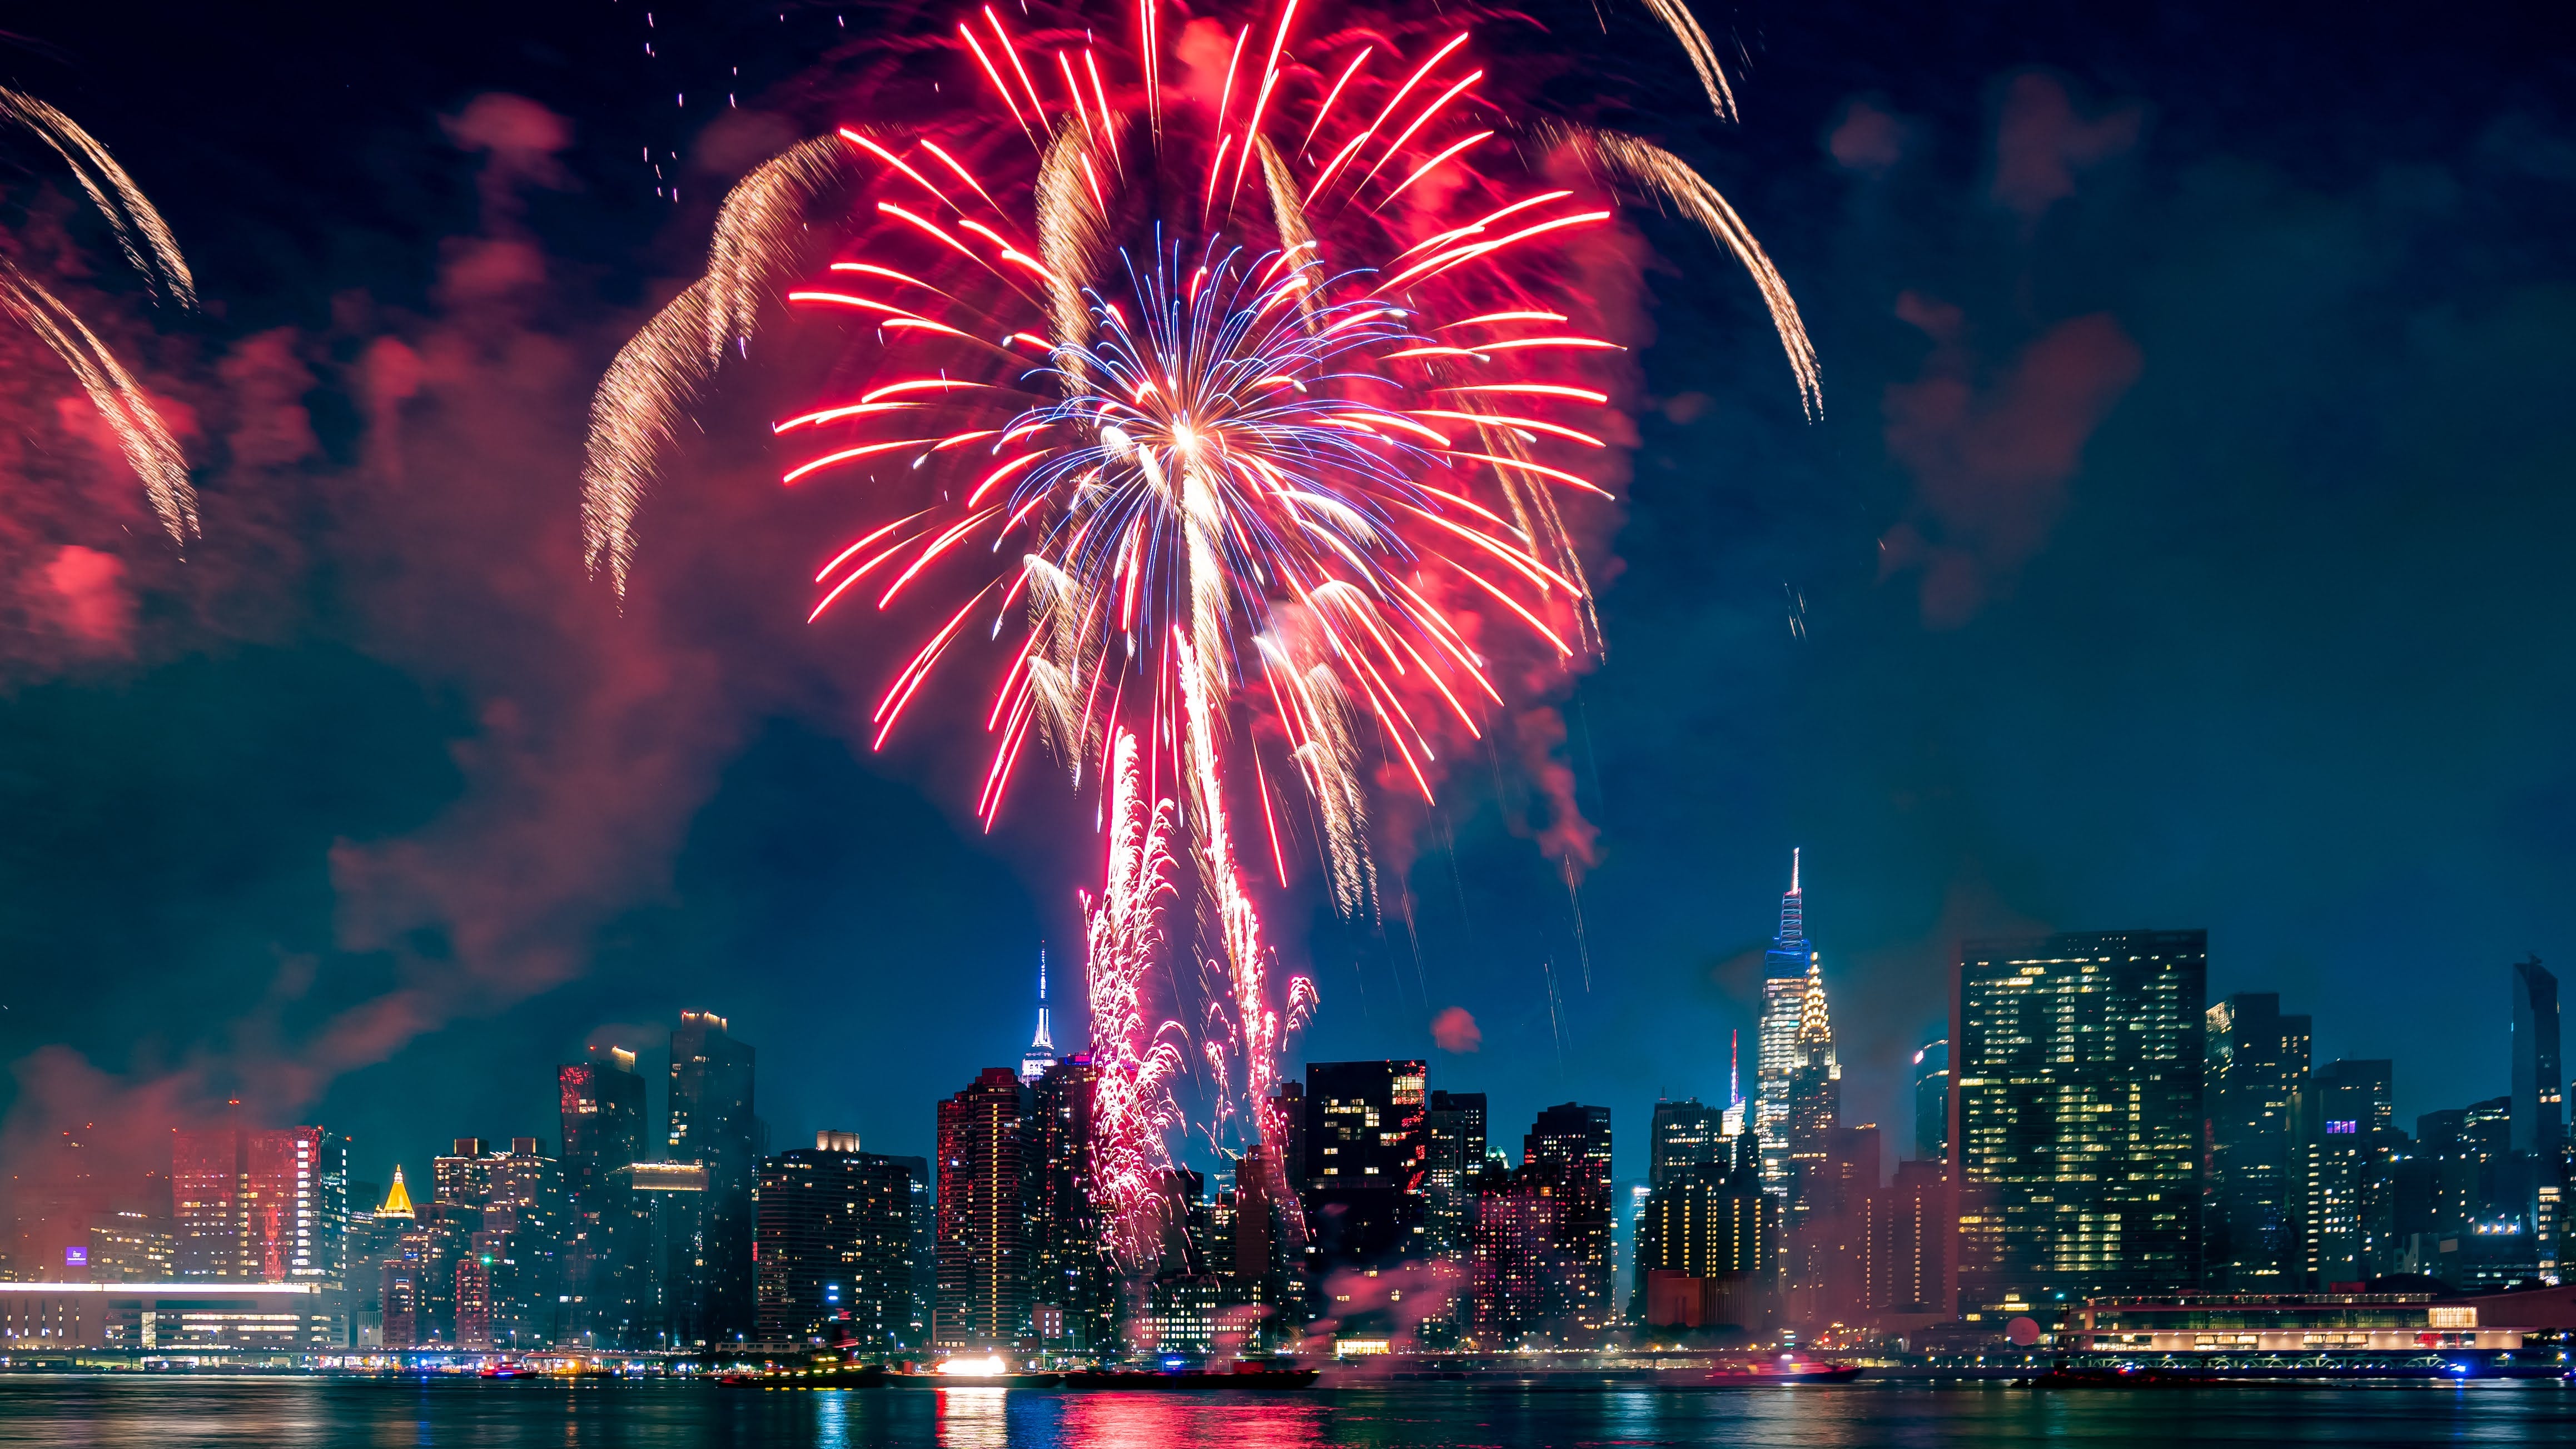
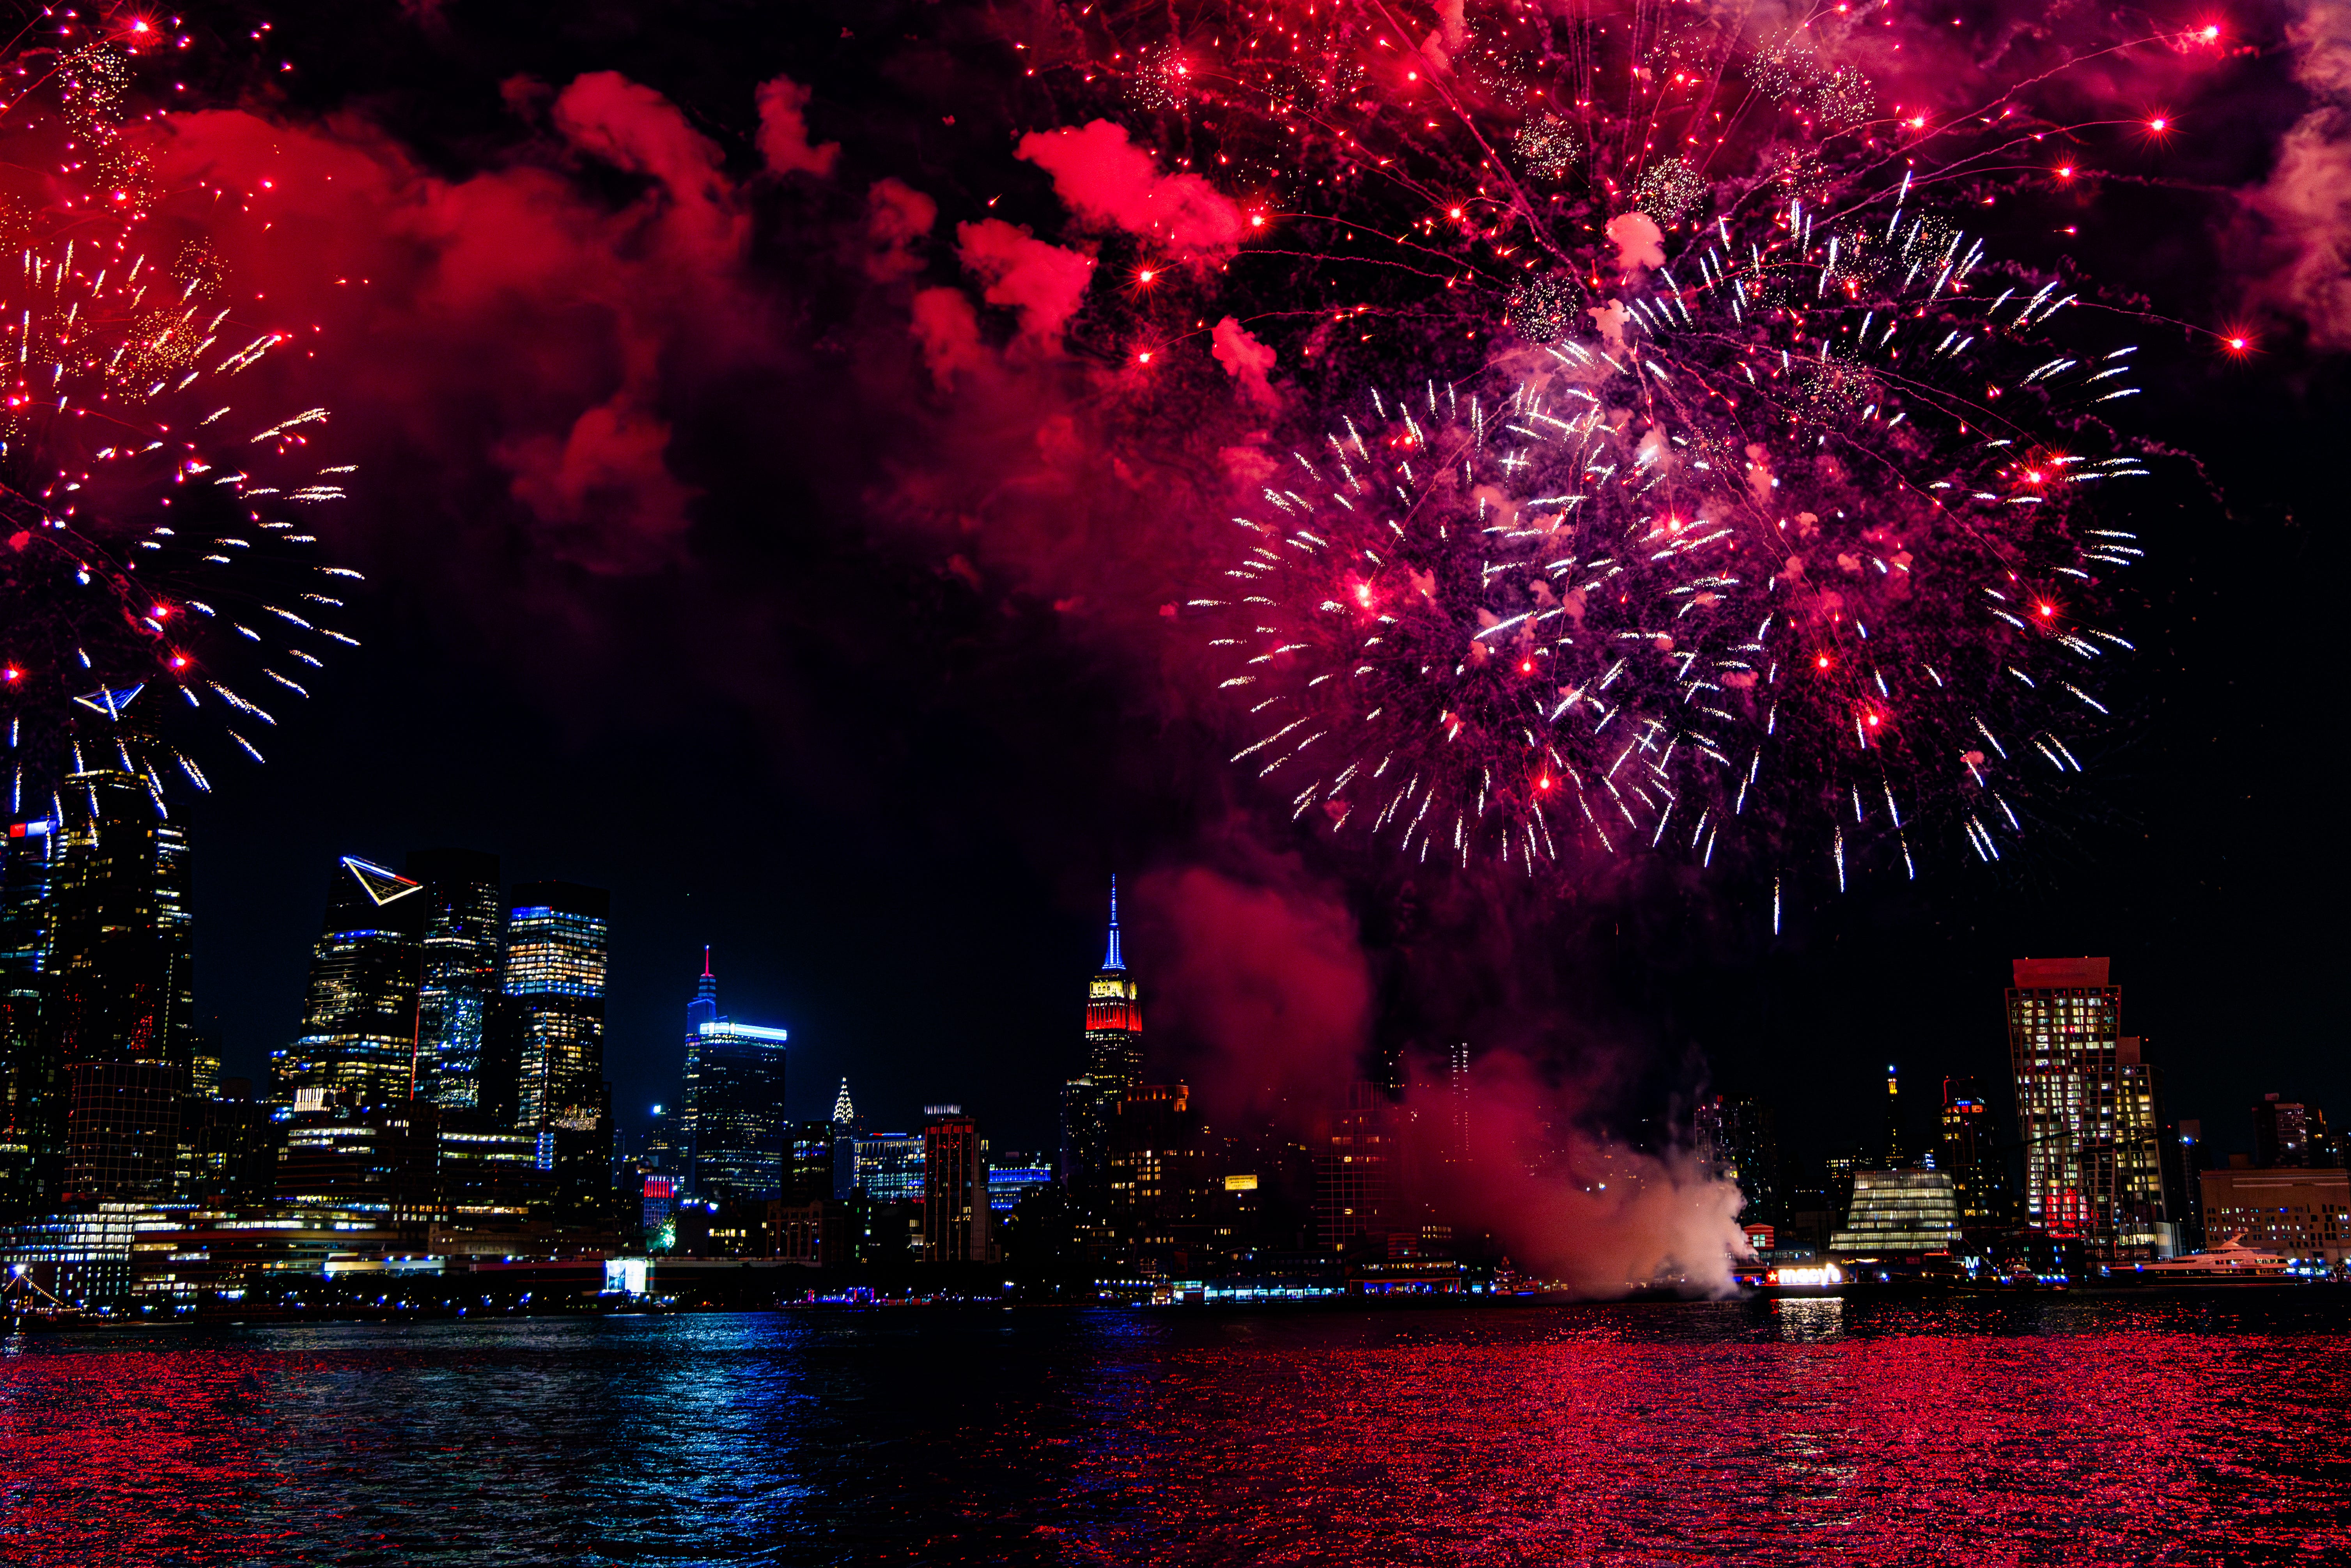
Compose with the skyline. Never point straight up. Your best frames put the fireworks over something – a city, a bridge, a crowd.
Two bodies if you’ve got them: a wide lens for the whole scene, a telephoto for tight, isolated bursts.
🎥 Advanced video: shoot a flat/Log profile, add an ND filter to hold your shutter at the 180° rule, and record 4K/60 for slow-mo flexibility in post.
🧰 The Gear That Actually Matters
You can skip almost everything here except the first item. That one’s not optional.
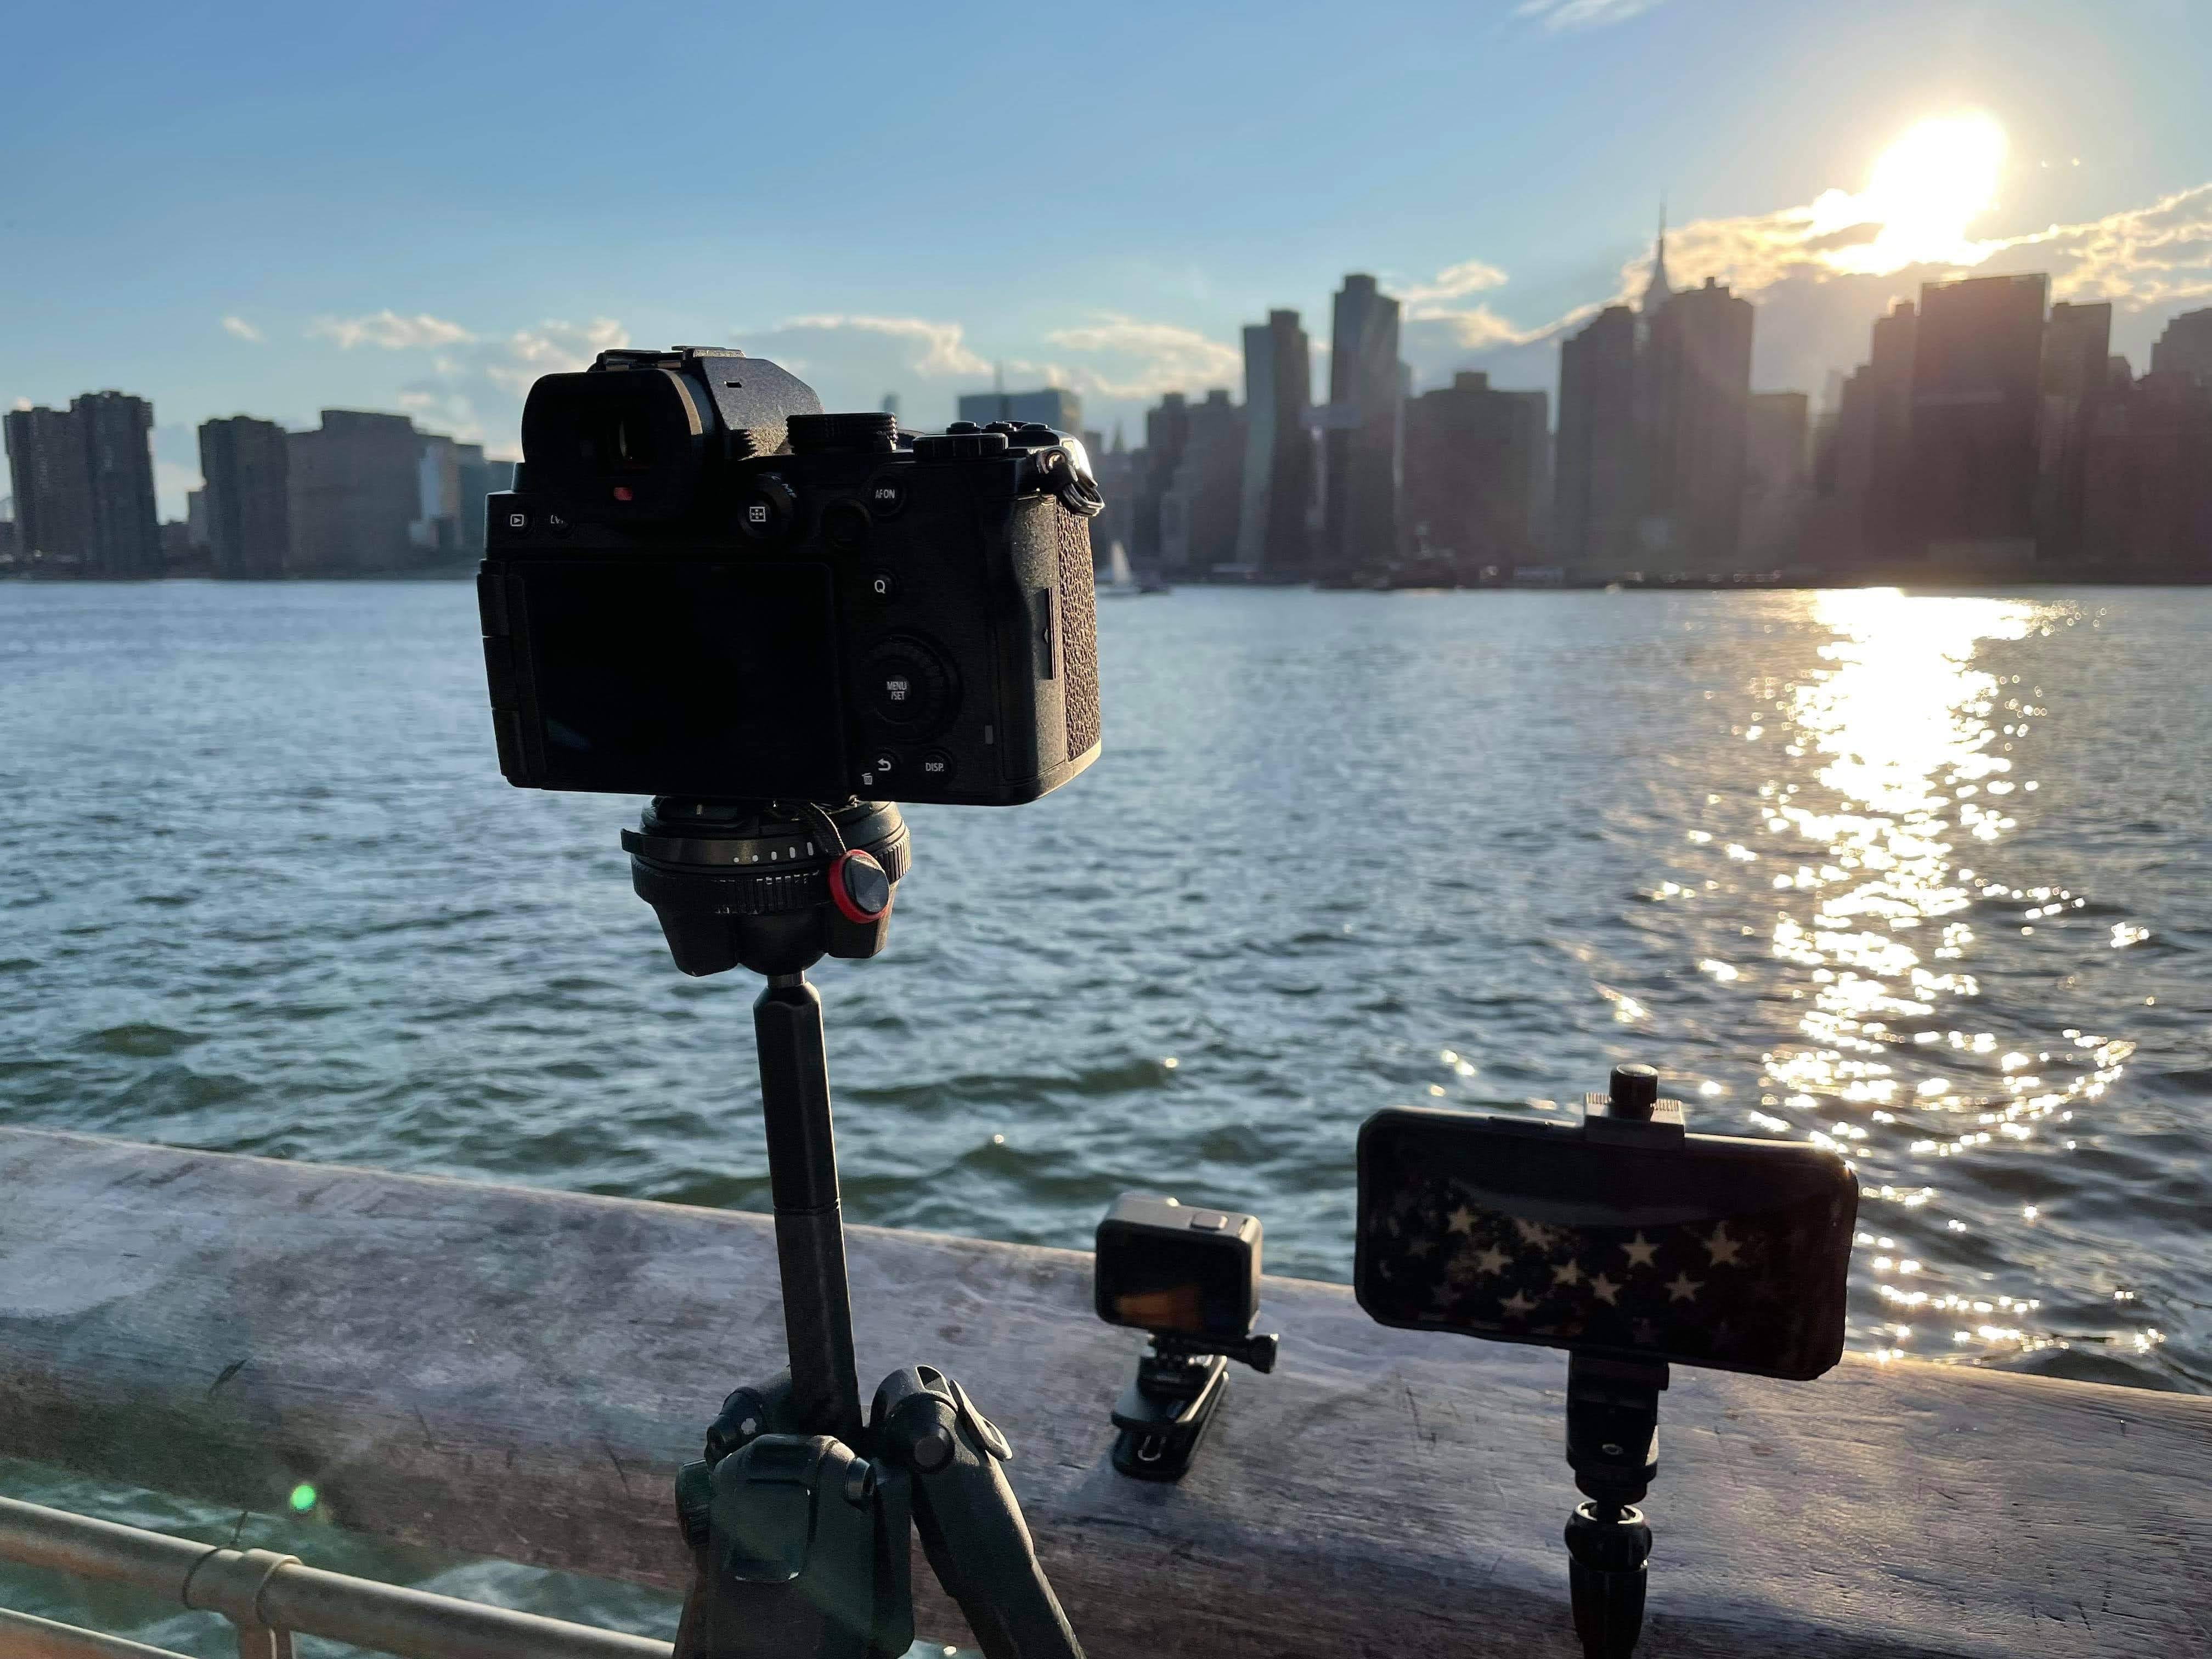
🗼 A tripod (yes, even for your phone)
Anything longer than about a 1/60 exposure needs a stable base. Here are my two picks at opposite ends of the budget:
Phone + budget: KraftGeek JustTap Magnetic Phone Tripod (~$43) This is my grab-and-go. It’s a MagSafe magnetic mount that taps open into a tripod one-handed, extends to 66 inches, folds down to 13, and comes with a Bluetooth remote so you’re not jostling the phone at the worst moment. Snap your iPhone on and you’re shooting long exposures in seconds. (Android works too with the included ring.)
👉 Grab the KraftGeek JustTap tripod from Amazon →
My personal favorite: Peak Design Travel Tripod (from ~$380) If you’re carrying a real camera, this is the one I travel with everywhere. It packs down to the diameter of a water bottle, holds 20 lbs, deploys to 60 inches, and hides a phone mount inside the center column so it pulls double duty. Aluminum is ~$380; carbon fiber shaves weight for ~$600.
👉 Grab the Peak Design Travel Tripod from Amazon from Amazon →
🔋 A spare battery (the most avoidable heartbreak in photography)
Long exposures, live view, and warm summer nights drain batteries faster than you’d expect. Bring one of these:
Spare camera batteries – always carry two
A power bank for your phone if you’re filming all night
A dummy battery (a coupler running to a power bank) if you’re planted in one spot and want to shoot indefinitely without ever swapping
Running out of power right as the sky goes all-out is the one mistake you can completely prevent.
🎨 Edit Like a Pro in Adobe Lightroom
This is where good fireworks shots become great ones, and it takes me about 90 seconds a photo. Everything below works identically in Lightroom on desktop and Lightroom Mobile on your phone – and Lightroom Mobile is free, so phone shooters, this section is absolutely for you.
Here’s my recipe, top to bottom:
Highlights → down. The big one. This tames the blown-out white centers and brings the real color back.
Shadows → up a bit. Lifts the skyline and foreground out of the black so the shot has depth.
Whites & Blacks → small nudges to set contrast (whites down if centers still clip, blacks down a touch for punch).
Dehaze → up. My secret weapon. Fireworks leave a smoky haze that builds all night and dulls everything – Dehaze cuts right through it.
Vibrance → crank it. This is what makes the reds and blues pop without frying colors that are already saturated.
Saturation → up a hair. Just a nudge on top of Vibrance. Don’t overdo it or you’ll hit neon.
From there, fine-tune with Temperature/Tint to fix any color cast from city lights, a little Texture/Clarity for crispness in the trails, Masking to brighten just the skyline or darken just the sky, and Noise Reduction if you shot at higher ISO.
New to this? Adobe’s Lightroom Mobile is free on iOS and Android and syncs to the desktop app on a Creative Cloud plan. It’s the easiest on-ramp to real editing there is – and it turns those phone shots from the first block into keepers.
A Few Things I’ve Learned the Hard Way
📹 Skip the time-lapse. It’s tempting, but fireworks move too fast. A time-lapse crushes the whole show into a two-second blur that’s over before anyone registers it. Shoot normal video instead (or 4K/60 for slow-mo). You’ll actually use it.
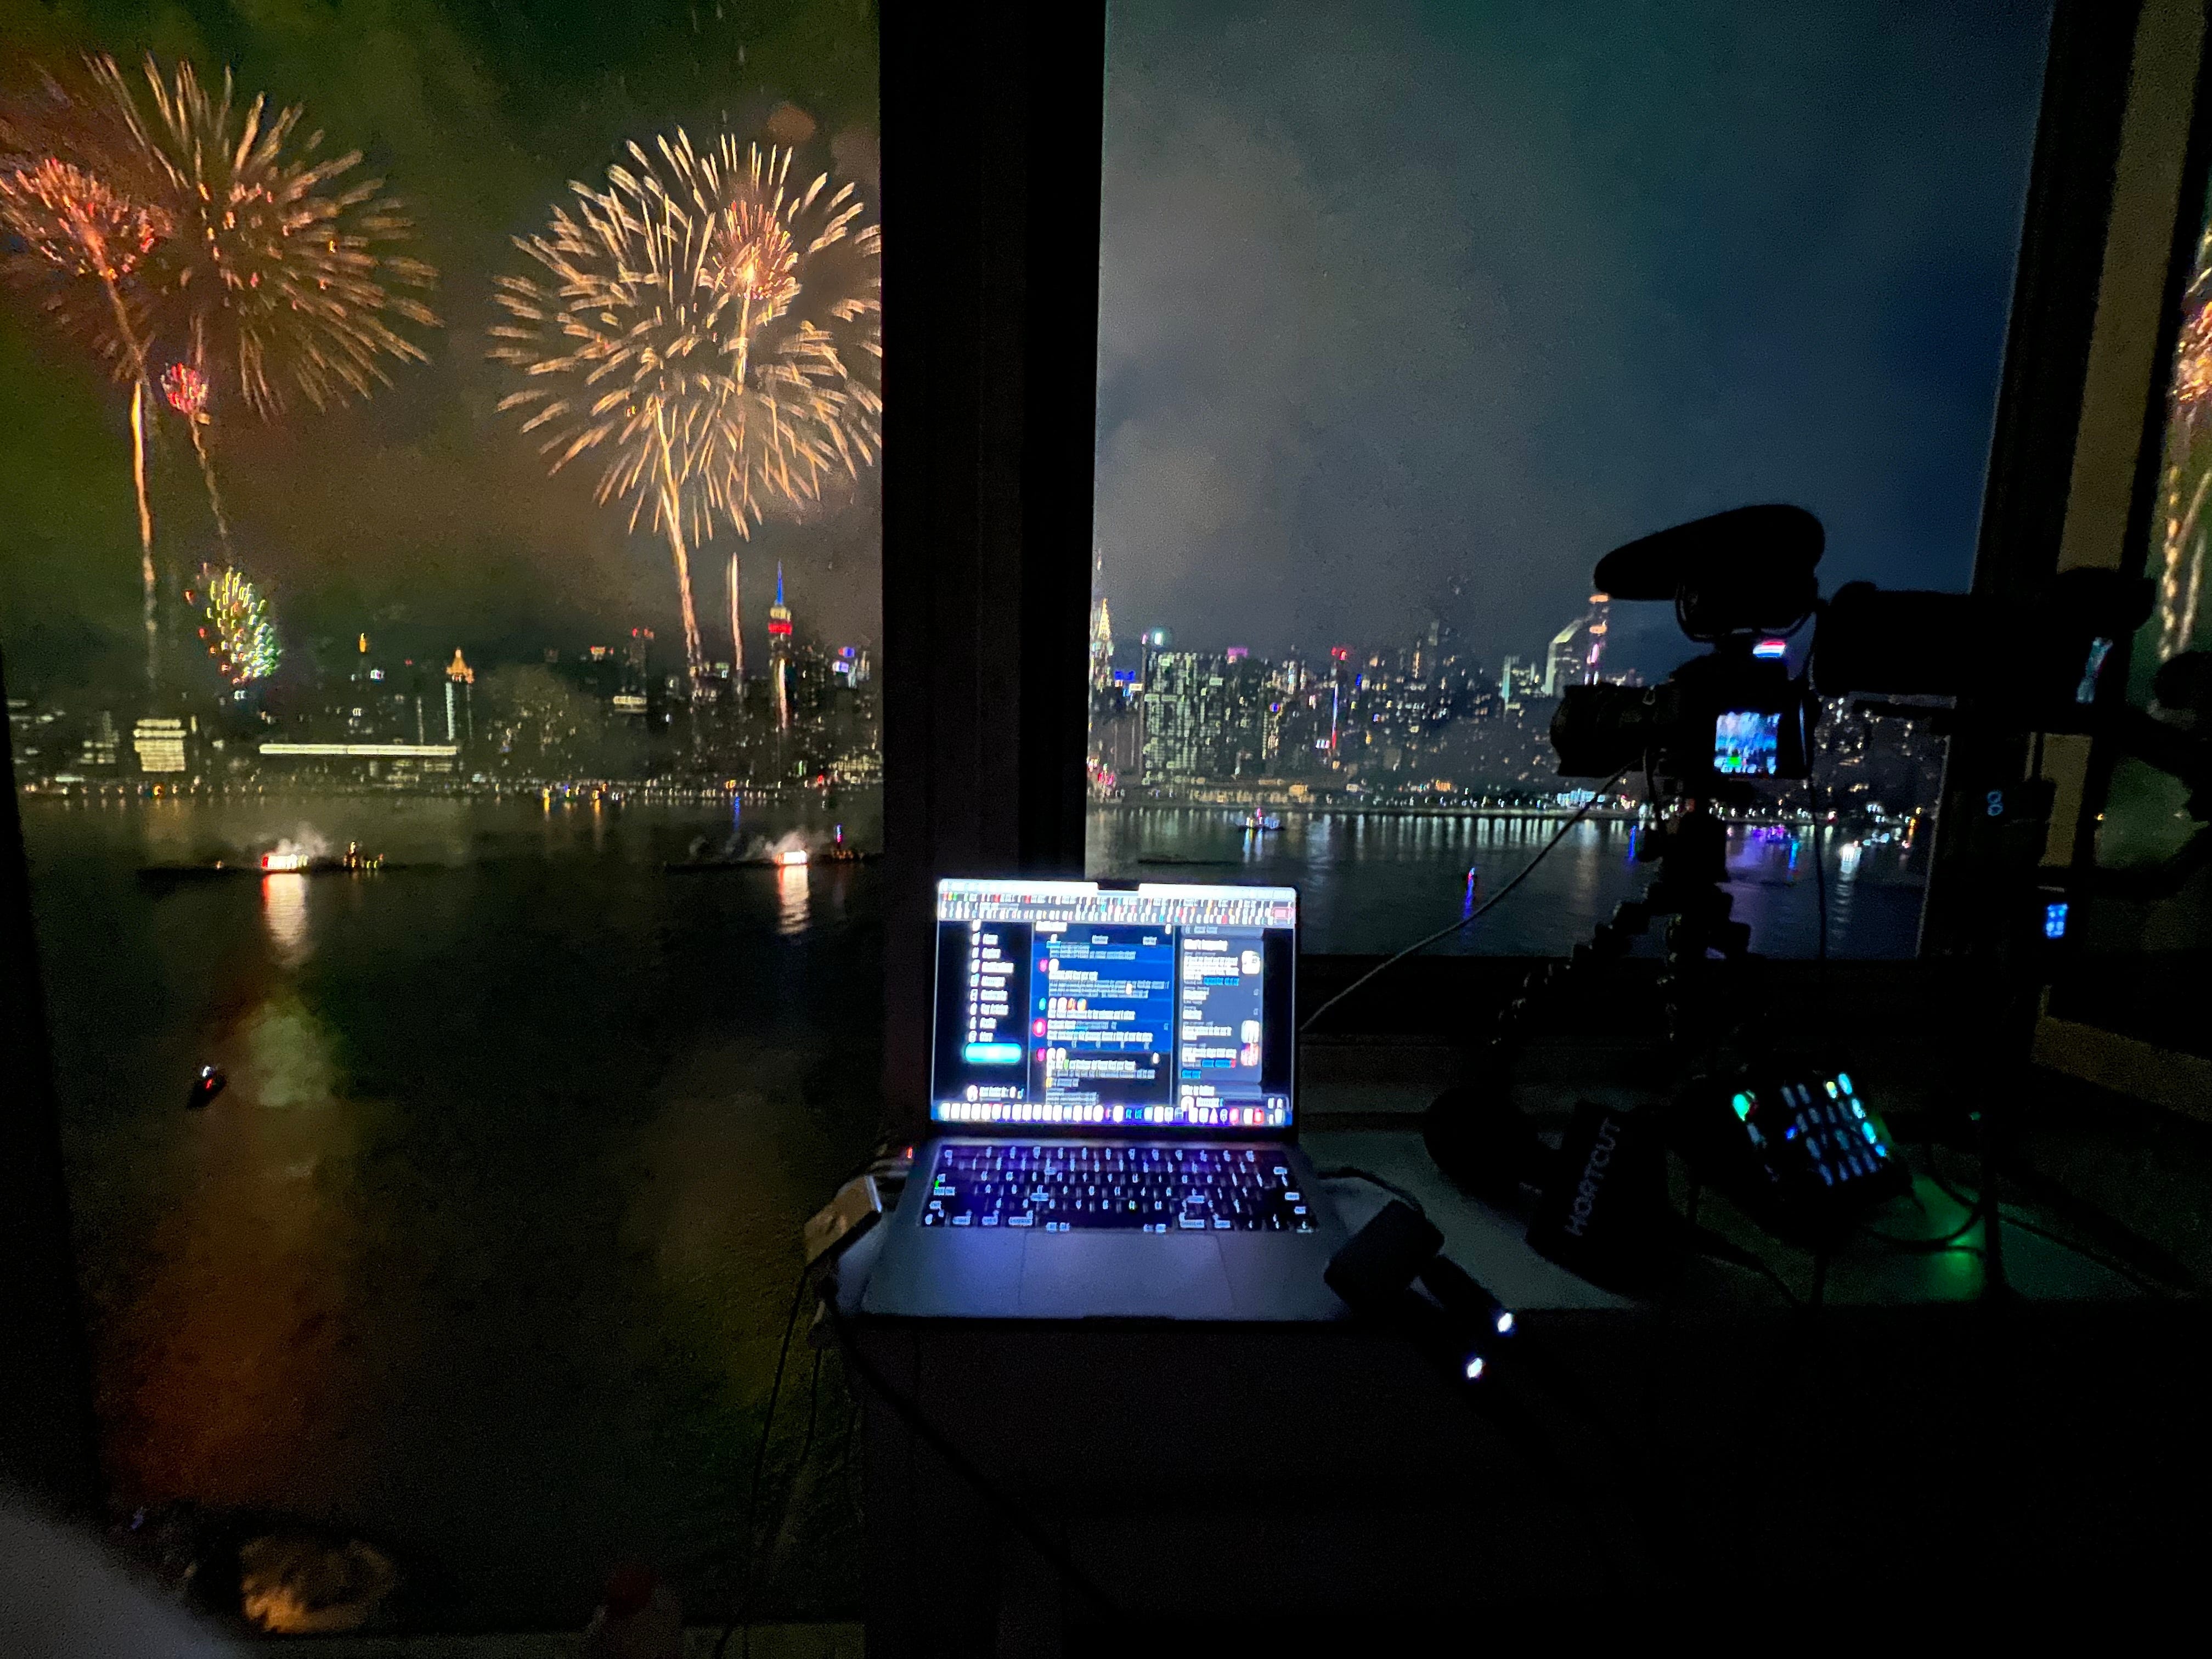
🔴 Don’t count on livestreaming. When tens of thousands of people are jammed onto the same few cell towers, the data pipe collapses and your stream buffers into oblivion. Shoot it, then upload later. The bonus: that delay is exactly when you edit, so what you post looks intentional instead of rushed.
⏲️ Arrive early. Get your spot, set your tripod, and lock your focus before the crowd fills in and the sky goes dark. Setup is a nightmare shoulder-to-shoulder.
🫂 Put something in the frame. The best fireworks photos aren’t just fireworks – they’re fireworks over a skyline, a bridge, a crowd. That’s what makes people stop scrolling.